Introduction to Red Velvet Brownies Recipe
Are you ready to treat yourself to something special? The Red Velvet Brownies Recipe is here to satisfy your sweet tooth! These brownies combine the classic flavors of red velvet cake with the rich, fudgy texture of brownies. They are not just a dessert; they are an experience. With a hint of cocoa and a touch of tangy cream cheese frosting, every bite is a delight. Let’s explore what makes these brownies so unique and why they are perfect for any occasion.
What Makes Red Velvet Brownies Unique?
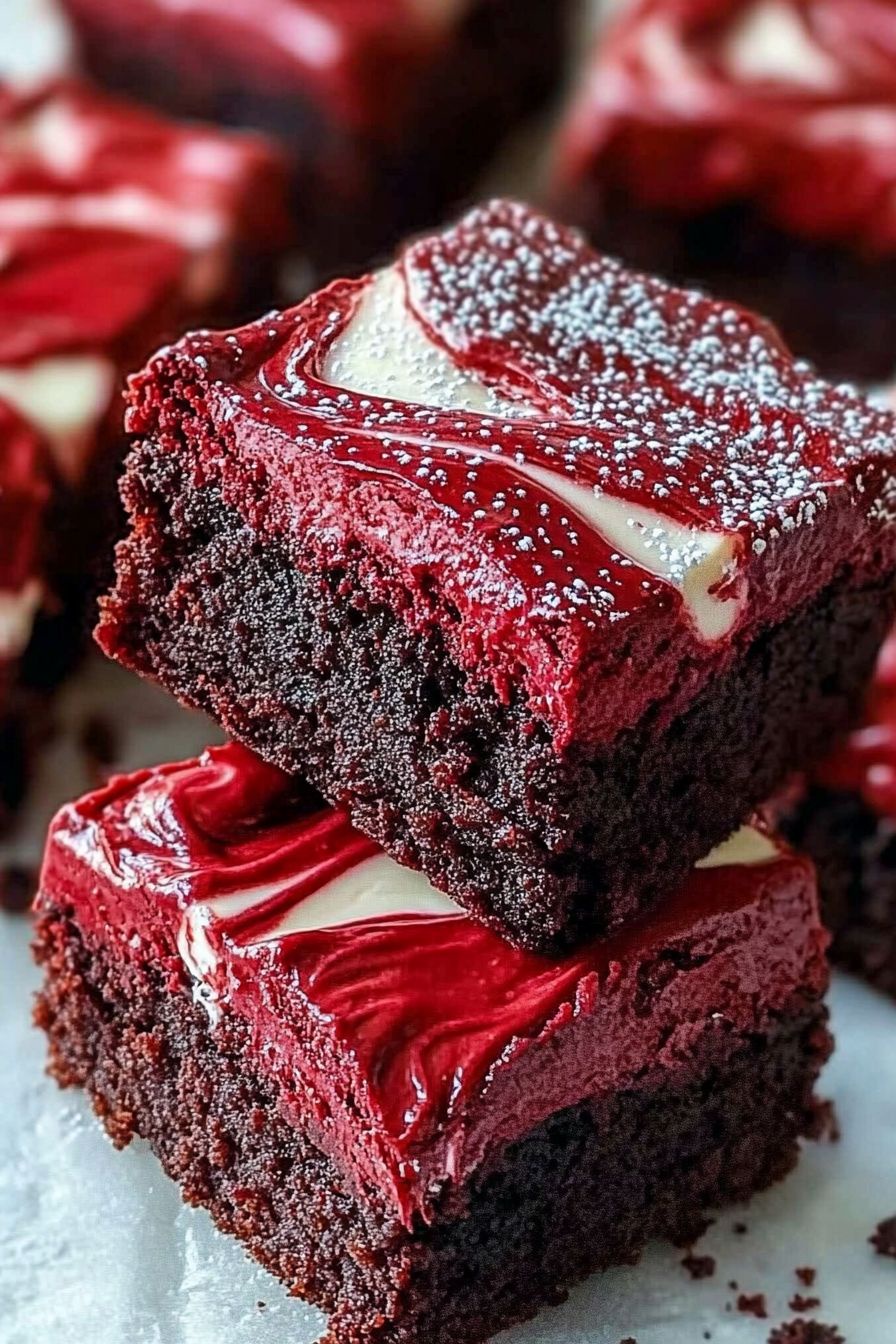
Red velvet brownies stand out because of their vibrant color and unique flavor. The deep red hue comes from cocoa powder and red food coloring, giving them a striking appearance. Unlike regular brownies, these have a subtle tanginess, thanks to the addition of buttermilk or vinegar. This tangy flavor pairs beautifully with the sweetness of the cream cheese frosting. The result? A dessert that is not only visually appealing but also deliciously complex. You’ll find that the combination of flavors makes these brownies a favorite among chocolate lovers and red velvet fans alike!
The Perfect Dessert for Any Occasion
Whether you’re celebrating a birthday, hosting a gathering, or simply craving something sweet, red velvet brownies are the perfect choice. They are easy to make and can be served warm or at room temperature. You can dress them up with frosting for special occasions or enjoy them plain for a cozy night in. Plus, they are a hit with both kids and adults! So, no matter the event, these brownies will surely impress your guests and leave them wanting more.
Ingredients for Red Velvet Brownies Recipe
To create the perfect batch of Red Velvet Brownies, you’ll need a few simple ingredients. Each component plays a vital role in achieving that rich flavor and delightful texture. Here’s what you’ll need:
- 1 cup all-purpose flour
- 1 cup granulated sugar
- 1/3 cup unsweetened cocoa powder
- 1/2 teaspoon baking powder
- 1/4 teaspoon baking soda
- 1/4 teaspoon salt
- 1/2 cup unsalted butter, melted
- 2 large eggs
- 1 teaspoon vanilla extract
- 1 tablespoon red food coloring
- 1/2 cup buttermilk (or 1/2 cup milk with 1/2 tablespoon vinegar)
For the cream cheese frosting, gather these ingredients:
- 4 ounces cream cheese, softened
- 1/4 cup unsalted butter, softened
- 1 cup powdered sugar
- 1 teaspoon vanilla extract
These ingredients will come together to create a deliciously fudgy brownie with a creamy topping. Make sure to measure everything accurately for the best results. Now that you have your ingredients ready, let’s move on to the preparation steps!
Step-by-Step Preparation of Red Velvet Brownies Recipe
Now that you have all your ingredients ready, it’s time to dive into the fun part: making your Red Velvet Brownies! Follow these simple steps to create a batch of delicious brownies that will impress everyone.
Step 1: Prepping Your Baking Dish
First things first, you need to prepare your baking dish. Preheat your oven to 350°F (175°C). Then, take an 8×8 inch baking pan and grease it with butter or cooking spray. This will help your brownies come out easily after baking. For an extra precaution, you can line the bottom with parchment paper. This makes cleanup a breeze!
Step 2: Mixing the Dry Ingredients
Next, grab a medium-sized mixing bowl. In this bowl, combine the all-purpose flour, granulated sugar, cocoa powder, baking powder, baking soda, and salt. Whisk these dry ingredients together until they are well mixed. This step is important because it ensures that the leavening agents are evenly distributed throughout the batter. A good mix will lead to perfectly baked brownies!
Step 3: Combining Wet Ingredients
In another bowl, it’s time to mix the wet ingredients. Start by melting the unsalted butter in the microwave or on the stove. Once melted, let it cool slightly. Then, add the eggs, vanilla extract, red food coloring, and buttermilk to the bowl. Whisk everything together until the mixture is smooth and well combined. The vibrant red color will start to shine through, making your batter look even more tempting!
Step 4: Creating the Brownie Batter
Now, it’s time to bring the dry and wet ingredients together. Pour the wet mixture into the bowl with the dry ingredients. Using a spatula, gently fold the ingredients together until just combined. Be careful not to overmix; a few lumps are okay! This will help keep your brownies fudgy and delicious.
Step 5: Baking the Brownies
Once your batter is ready, pour it into the prepared baking dish. Spread it evenly with your spatula. Place the dish in the preheated oven and bake for about 25-30 minutes. To check if they are done, insert a toothpick into the center. If it comes out with a few moist crumbs, your brownies are perfect! If it comes out wet, give them a few more minutes.
Step 6: Preparing the Cream Cheese Frosting
While the brownies are baking, you can prepare the cream cheese frosting. In a mixing bowl, beat the softened cream cheese and unsalted butter together until smooth. Gradually add the powdered sugar and vanilla extract, mixing until creamy. This frosting is the perfect complement to your rich brownies, adding a tangy sweetness that everyone will love!
Step 7: Frosting the Brownies
Once the brownies are baked and cooled, it’s time to frost them! Spread the cream cheese frosting evenly over the top of the brownies using a spatula. You can make it as thick or thin as you like. For an extra touch, consider sprinkling some chocolate shavings or sprinkles on top. Now, your Red Velvet Brownies are ready to be sliced and served!
Variations of Red Velvet Brownies Recipe
While the classic Red Velvet Brownies Recipe is already a treat, there are many fun variations you can try! These twists can add new flavors and textures, making your brownies even more exciting. Let’s explore some delicious options!
Adding Nuts or Chocolate Chips
If you love a bit of crunch, consider adding nuts or chocolate chips to your brownie batter. Chopped walnuts or pecans can bring a delightful texture and nutty flavor. Simply fold in about 1/2 cup of your favorite nuts after mixing the wet and dry ingredients. Alternatively, you can add chocolate chips for an extra chocolatey experience. Dark, milk, or white chocolate chips all work wonderfully. Just sprinkle them in before baking, and enjoy the gooey goodness!
Gluten-Free Options
For those who need a gluten-free treat, you can easily adapt this recipe. Substitute the all-purpose flour with a gluten-free flour blend. Make sure to choose a blend that includes xanthan gum, as it helps mimic the texture of regular flour. Follow the same steps as the original recipe, and you’ll have delicious gluten-free red velvet brownies that everyone can enjoy!
Vegan Red Velvet Brownies
Craving a vegan version of these delightful brownies? It’s simple! Replace the eggs with flax eggs. To make a flax egg, mix 1 tablespoon of ground flaxseed with 2.5 tablespoons of water. Let it sit for about 5 minutes until it thickens. Use plant-based butter or coconut oil instead of regular butter. For the buttermilk, mix almond milk with a splash of vinegar. These swaps will keep your brownies rich and fudgy while being completely vegan!
Cooking Note for Red Velvet Brownies Recipe
When it comes to baking, a few key tips can make all the difference in achieving the perfect Red Velvet Brownies Recipe. Here are some important cooking notes to keep in mind:
- Room Temperature Ingredients: For the best results, ensure that your eggs and butter are at room temperature. This helps them mix more easily and creates a smoother batter.
- Don’t Overmix: When combining the wet and dry ingredients, mix just until combined. Overmixing can lead to tough brownies instead of the desired fudgy texture.
- Check for Doneness: Every oven is different, so keep an eye on your brownies as they bake. Start checking for doneness a few minutes before the recommended time. Remember, they will continue to cook slightly after being removed from the oven.
- Cooling Time: Allow your brownies to cool in the pan for at least 10-15 minutes before frosting. This prevents the frosting from melting and ensures a beautiful finish.
- Experiment with Baking Times: If you prefer a more gooey brownie, you can reduce the baking time slightly. Just be cautious not to underbake them too much, as this can lead to a raw center.
By following these cooking notes, you’ll be well on your way to creating a batch of red velvet brownies that are not only delicious but also visually stunning. Happy baking!
Serving Suggestions for Red Velvet Brownies Recipe
Now that you’ve baked your delicious Red Velvet Brownies, it’s time to think about how to serve them! These brownies are delightful on their own, but pairing them with other treats can elevate your dessert experience. Here are some fantastic serving suggestions that will impress your family and friends.
Pairing with Ice Cream
One of the best ways to enjoy your red velvet brownies is by pairing them with a scoop of ice cream. The creamy texture of ice cream complements the fudgy brownies perfectly. Vanilla ice cream is a classic choice, but you can also try flavors like cream cheese, chocolate, or even red velvet ice cream for a fun twist! To serve, simply place a warm brownie on a plate and top it with a generous scoop of ice cream. Drizzle some chocolate or caramel sauce over the top for an extra indulgent treat. This combination is sure to be a hit at any gathering!
Serving with Fresh Berries
For a lighter option, consider serving your red velvet brownies with fresh berries. Strawberries, raspberries, or blueberries add a burst of freshness that balances the richness of the brownies. You can serve the brownies on a plate and scatter a handful of berries around them. For an elegant touch, dust the plate with powdered sugar or drizzle a bit of berry sauce. This not only enhances the presentation but also adds a delightful contrast in flavors. Plus, the vibrant colors of the berries make your dessert look even more appealing!
These serving suggestions will take your Red Velvet Brownies Recipe to the next level. Whether you choose the creamy ice cream or the refreshing berries, your dessert will be a memorable treat for everyone!
Tips for Perfecting Your Red Velvet Brownies Recipe
To ensure your Red Velvet Brownies Recipe turns out perfectly every time, it’s essential to keep a few tips in mind. Baking can be tricky, but with the right knowledge, you can avoid common pitfalls and create delicious brownies that everyone will love. Here are some helpful tips to guide you!
Common Mistakes to Avoid
Even the best bakers can make mistakes. Here are some common errors to watch out for:
- Using Cold Ingredients: Always use room temperature eggs and butter. Cold ingredients can lead to a lumpy batter and uneven baking.
- Overmixing the Batter: Mixing too much can make your brownies tough. Stir just until the ingredients are combined for a fudgy texture.
- Not Measuring Ingredients Accurately: Baking is a science! Use measuring cups and spoons for precise amounts. Too much flour can dry out your brownies.
- Skipping the Cooling Time: Allow your brownies to cool before frosting. This prevents the frosting from melting and ensures a beautiful finish.
- Not Checking for Doneness: Every oven is different. Use a toothpick to check for doneness a few minutes before the timer goes off. A few moist crumbs are perfect!
By avoiding these common mistakes, you’ll be on your way to baking the best red velvet brownies ever!
Storage Tips for Leftover Brownies
If you have leftover brownies (which is rare!), it’s important to store them properly to maintain their freshness. Here are some easy storage tips:
- Room Temperature: Store brownies in an airtight container at room temperature for up to 3 days. This keeps them soft and chewy.
- Refrigeration: If you want to keep them longer, place the brownies in the fridge. They can last up to a week, but be sure to let them come to room temperature before serving.
- Freezing: For longer storage, freeze brownies. Wrap them tightly in plastic wrap and then in aluminum foil. They can last up to 3 months in the freezer. Thaw them in the fridge overnight before enjoying!
With these storage tips, you can enjoy your Red Velvet Brownies for days to come. Happy baking!
Breakdown of Time for Red Velvet Brownies Recipe
Understanding the time needed for each step in the Red Velvet Brownies Recipe can help you plan your baking session better. Here’s a simple breakdown of the time you’ll need to create these delicious treats!
Prep Time
The prep time for your red velvet brownies is about 15-20 minutes. This includes gathering your ingredients, measuring them out, and mixing the dry and wet components. Make sure to take your time during this step to ensure everything is measured accurately. A well-prepared batter leads to the best brownies!
Cooking Time
Once your batter is ready, the cooking time is approximately 25-30 minutes. Keep an eye on your brownies as they bake. Remember, every oven is different, so checking for doneness a few minutes before the timer goes off is a good idea. You want them to be perfectly baked, with a few moist crumbs on the toothpick!
Total Time
In total, you can expect to spend about 45-50 minutes from start to finish. This includes both prep and cooking time. If you add in the time for cooling before frosting, you might want to set aside an hour or more. But trust us, the wait is worth it when you take that first bite of your rich, fudgy red velvet brownies!
Nutritional Information for Red Velvet Brownies Recipe
Understanding the nutritional content of your Red Velvet Brownies Recipe can help you enjoy these treats in moderation. Here’s a breakdown of the key nutritional information per serving, which is typically one brownie (assuming the recipe yields 16 brownies):
Calories
Each serving of these delicious red velvet brownies contains approximately 200 calories. This number can vary slightly based on the specific ingredients used and portion sizes. While they are a sweet indulgence, enjoying them in moderation is key to maintaining a balanced diet.
Protein
In terms of protein, each brownie offers about 2.5 grams. This is a modest amount, but it can contribute to your daily protein intake, especially when paired with other protein-rich foods. If you’re looking to boost the protein content, consider adding nuts or serving the brownies with a scoop of protein-rich ice cream.
Sodium
Each brownie contains roughly 150 milligrams of sodium. This is a reasonable amount for a dessert, but if you’re watching your sodium intake, be mindful of other salty foods you consume throughout the day. Using unsalted butter and low-sodium ingredients can help keep the sodium levels in check.
By keeping these nutritional facts in mind, you can enjoy your Red Velvet Brownies while being aware of their impact on your diet. Remember, it’s all about balance and enjoying treats in moderation!
FAQs about Red Velvet Brownies Recipe
Can I make Red Velvet Brownies ahead of time?
Absolutely! You can make Red Velvet Brownies ahead of time, which is perfect for parties or gatherings. Once baked, allow the brownies to cool completely. Then, store them in an airtight container at room temperature for up to three days. If you want to prepare them even earlier, you can freeze the brownies. Just wrap them tightly in plastic wrap and then in aluminum foil. They can last up to three months in the freezer. When you’re ready to enjoy them, simply thaw them in the fridge overnight. This way, you’ll have delicious brownies ready to serve whenever you need them!
How do I store leftover Red Velvet Brownies?
If you have leftover Red Velvet Brownies, storing them properly is key to keeping them fresh. For short-term storage, place the brownies in an airtight container at room temperature. They will stay soft and chewy for about three days. If you want to keep them longer, you can refrigerate them. Just make sure to let them come to room temperature before serving for the best taste. For long-term storage, freezing is a great option. Wrap the brownies tightly in plastic wrap and then in aluminum foil. They can last up to three months in the freezer. When you’re ready to enjoy, thaw them in the fridge overnight!
Can I use a different frosting for my Red Velvet Brownies?
Yes, you can definitely use a different frosting for your Red Velvet Brownies! While cream cheese frosting is a classic choice, there are many other delicious options. You could try a simple chocolate ganache for a rich, chocolatey flavor. A vanilla buttercream or even a whipped cream topping can also work wonderfully. If you want to keep it light, consider a dusting of powdered sugar or a drizzle of chocolate sauce. Feel free to get creative and choose a frosting that suits your taste!
Conclusion on Red Velvet Brownies Recipe
In conclusion, the Red Velvet Brownies Recipe is a delightful treat that combines the best of both worlds: the rich, fudgy texture of brownies and the unique flavor of red velvet cake. These brownies are not only visually stunning but also incredibly delicious, making them a perfect dessert for any occasion. Whether you’re celebrating a special event or simply indulging in a sweet craving, these brownies are sure to impress.
With easy-to-follow steps and simple ingredients, baking these brownies is a fun and rewarding experience. Plus, the variations you can try—like adding nuts, making them gluten-free, or even vegan—ensure that everyone can enjoy this delightful dessert. Remember to take your time, follow the tips provided, and don’t hesitate to get creative with your toppings and pairings.
So, gather your ingredients, preheat your oven, and get ready to create a batch of these scrumptious red velvet brownies. They are bound to become a favorite in your household, and you might just find yourself making them again and again. Happy baking!