Introduction to Homemade Vanilla Oreo Ice Cream
Why You Should Make Homemade Ice Cream
Making homemade ice cream is a delightful experience. First, it allows you to control the ingredients, ensuring freshness and quality. You can avoid artificial flavors and preservatives often found in store-bought varieties. Plus, the process is fun! Gather your family or friends, and enjoy creating something delicious together. Homemade ice cream also offers endless customization. You can experiment with flavors, mix-ins, and textures to suit your taste. Whether you prefer classic vanilla or adventurous combinations, the choice is yours!
The Allure of Vanilla and Oreo Combination
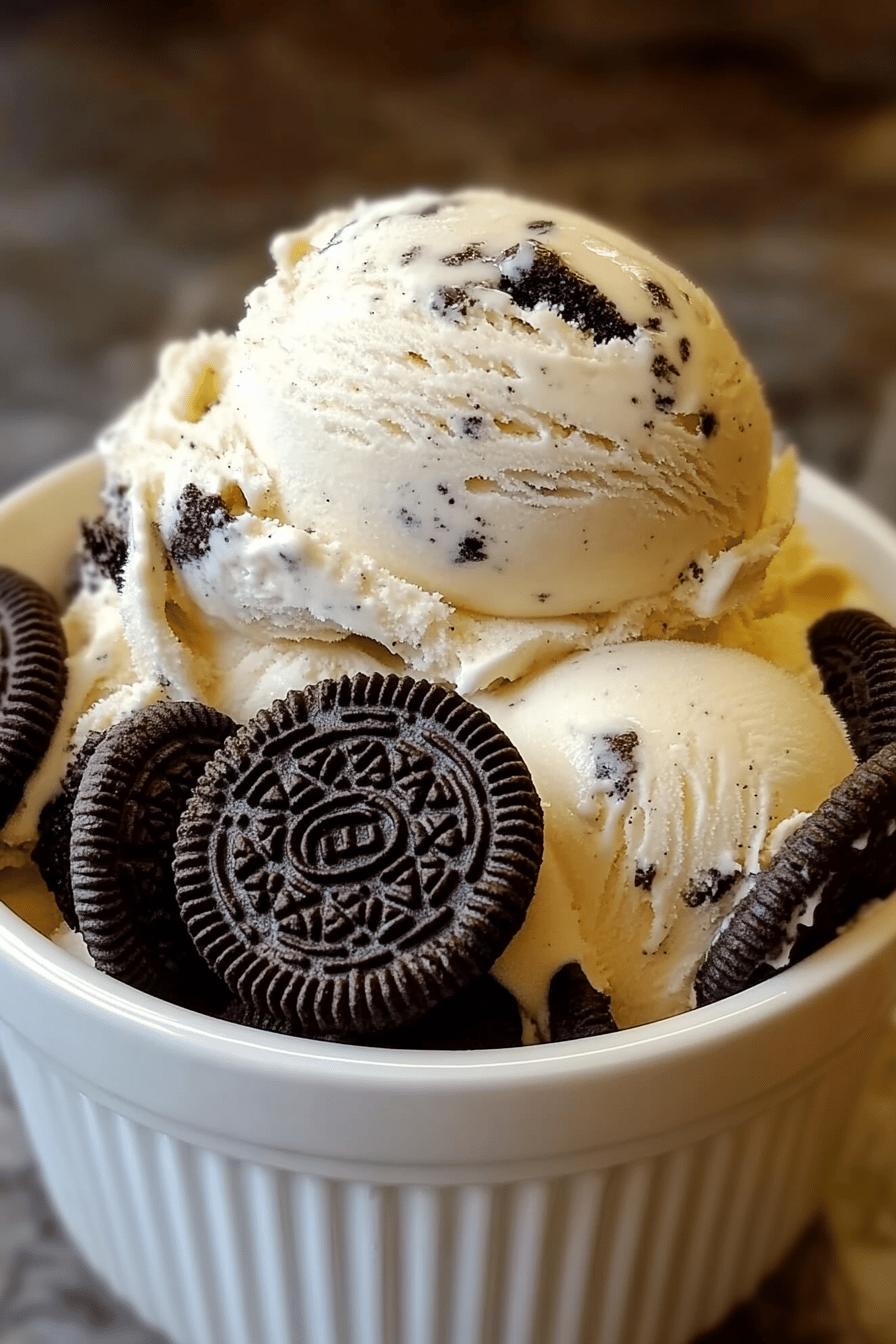
The combination of vanilla and Oreo cookies is simply irresistible. Vanilla ice cream provides a creamy, smooth base that perfectly complements the crunchy, chocolatey goodness of Oreos. Each bite offers a delightful contrast in texture and flavor. This classic pairing is loved by many, making it a perfect choice for gatherings or a cozy night in. The rich taste of vanilla combined with the sweet crunch of Oreos creates a nostalgic treat that brings back fond memories. It’s a flavor duo that never goes out of style!
Ingredients for Homemade Vanilla Oreo Ice Cream
To create your own Homemade Vanilla Oreo Ice Cream, you’ll need a few simple ingredients. Each one plays a vital role in achieving that creamy texture and delicious flavor. Here’s what you’ll need:
- 2 cups heavy cream: This is the base of your ice cream, providing richness and creaminess.
- 1 cup whole milk: Whole milk adds a smooth consistency and balances the richness of the cream.
- 3/4 cup granulated sugar: Sugar sweetens the ice cream and helps create a soft texture.
- 1 tablespoon pure vanilla extract: This enhances the vanilla flavor, making it more aromatic and delicious.
- 1 cup crushed Oreo cookies: The star of the show! These cookies add crunch and a delightful chocolate flavor.
Feel free to adjust the amount of sugar based on your sweetness preference. You can also use low-fat milk if you want a lighter version, but keep in mind that it may affect the creaminess. Now that you have your ingredients ready, you’re one step closer to making this delightful treat!
Step-by-Step Preparation of Homemade Vanilla Oreo Ice Cream
Step 1: Gather Your Ingredients
Before you start, make sure you have all your ingredients ready. This makes the process smoother and more enjoyable. Gather your heavy cream, whole milk, granulated sugar, pure vanilla extract, and crushed Oreo cookies. Having everything on hand will help you focus on creating your delicious ice cream without any interruptions. It’s like setting the stage for a fun cooking adventure!
Step 2: Prepare the Base Mixture
Now, let’s create the base for your ice cream. In a large mixing bowl, combine the heavy cream, whole milk, and granulated sugar. Whisk these ingredients together until the sugar is fully dissolved. This step is crucial because it ensures a smooth texture in your ice cream. Next, add the pure vanilla extract and mix well. The aroma of vanilla will fill your kitchen, making it even more inviting!
Step 3: Incorporate the Oreo Cookies
Once your base mixture is ready, it’s time to add the star ingredient—Oreo cookies! Take your crushed Oreos and gently fold them into the mixture. Be careful not to overmix; you want to keep some chunks for that delightful crunch. The cookies will add a wonderful texture and flavor to your ice cream. Imagine the joy of biting into those chocolatey pieces as you enjoy your treat!
Step 4: Churn the Ice Cream
Now comes the fun part—churning! If you have an ice cream maker, pour your mixture into it and churn according to the manufacturer’s instructions. This process incorporates air, making your ice cream light and fluffy. If you don’t have an ice cream maker, don’t worry! You can pour the mixture into a shallow dish and place it in the freezer. Stir it every 30 minutes for about 2-3 hours until it reaches a creamy consistency.
Step 5: Freeze and Set
After churning, transfer your ice cream to an airtight container. Smooth the top with a spatula and cover it tightly. Place it in the freezer for at least 4 hours, or until it’s firm. This final freezing step is essential for achieving that perfect scoopable texture. Once it’s set, you’ll be ready to enjoy your Homemade Vanilla Oreo Ice Cream!
Variations of Homemade Vanilla Oreo Ice Cream
Adding Different Flavors
While the classic Homemade Vanilla Oreo Ice Cream is delicious on its own, you can easily switch things up by adding different flavors. For instance, consider using chocolate or mint-flavored Oreos for a fun twist. You can also infuse your base mixture with other flavors. Try adding a tablespoon of cocoa powder for a chocolatey version or a splash of almond extract for a nutty taste. If you’re feeling adventurous, mix in some coffee or caramel syrup to create a unique flavor profile. The possibilities are endless, and experimenting with flavors can lead to delightful surprises!
Alternative Mix-Ins
In addition to Oreos, you can enhance your ice cream with various mix-ins. Chopped nuts, like walnuts or pecans, add a crunchy texture and nutty flavor. You might also consider adding chocolate chips or chunks for an extra chocolatey experience. Fresh fruits, such as strawberries or bananas, can provide a refreshing contrast to the creamy base. For a fun twist, try adding crushed candy bars or sprinkles for a festive touch. Just remember to fold in your mix-ins gently to maintain the creamy texture of your ice cream. With these alternative mix-ins, you can create a personalized treat that suits your taste perfectly!
Cooking Note for Homemade Vanilla Oreo Ice Cream
When making Homemade Vanilla Oreo Ice Cream, a few cooking notes can help you achieve the best results. First, always use high-quality ingredients. Fresh heavy cream and whole milk will enhance the flavor and texture of your ice cream. If possible, opt for pure vanilla extract instead of imitation vanilla. The difference in taste is remarkable!
Next, be mindful of the temperature of your ingredients. For the best results, ensure that your heavy cream and milk are cold before mixing. This helps the ice cream churn more effectively, leading to a creamier texture. If you’re using an ice cream maker, pre-chill the bowl according to the manufacturer’s instructions. This step is crucial for achieving that perfect consistency.
Additionally, when incorporating the Oreo cookies, consider the size of the cookie pieces. Crushing them into smaller chunks will distribute the flavor evenly throughout the ice cream. However, leave some larger pieces for that delightful crunch in every bite. Remember, the goal is to create a balance between smoothness and texture.
Lastly, patience is key! Allow your ice cream to freeze for the recommended time. Rushing this step can result in a softer texture that may not scoop well. Once it’s fully set, you’ll be rewarded with a deliciously creamy treat that’s worth the wait. Enjoy your homemade creation, and don’t forget to share it with friends and family!
Serving Suggestions for Homemade Vanilla Oreo Ice Cream
Creative Ways to Serve
Serving your Homemade Vanilla Oreo Ice Cream can be just as fun as making it! Start by scooping the ice cream into bowls or cones. For a delightful presentation, consider layering it in a parfait glass. Alternate layers of ice cream with crushed Oreos and whipped cream for a stunning dessert. You can also drizzle chocolate or caramel sauce on top for an extra touch of sweetness. If you want to impress your guests, serve the ice cream in homemade waffle bowls. They add a crunchy element and make your dessert look fancy!
Another creative idea is to make ice cream sandwiches. Take two cookies—like chocolate chip or even more Oreos—and sandwich a scoop of your ice cream in between. This fun treat is perfect for parties or a casual family night. You can even roll the edges in sprinkles or mini chocolate chips for added flair. The combination of textures and flavors will surely delight everyone!
Pairing with Other Desserts
Your Homemade Vanilla Oreo Ice Cream pairs wonderfully with various desserts. For a classic combination, serve it alongside warm brownies or chocolate cake. The contrast of warm and cold creates a delightful experience. You can also top a slice of pie, like apple or cherry, with a scoop of your ice cream. The creamy vanilla flavor complements the fruity filling perfectly.
If you’re feeling adventurous, try using your ice cream as a topping for pancakes or waffles. A scoop of ice cream on a warm waffle drizzled with syrup is a breakfast treat that feels indulgent. For a more sophisticated dessert, consider serving it with a slice of cheesecake. The rich flavors of both desserts will create a heavenly combination that’s hard to resist!
With these serving suggestions, you can elevate your Homemade Vanilla Oreo Ice Cream experience. Whether you choose to serve it creatively or pair it with other desserts, this ice cream is sure to impress and satisfy your sweet cravings!
Tips for Perfect Homemade Vanilla Oreo Ice Cream
Choosing the Right Ingredients
To make the best Homemade Vanilla Oreo Ice Cream, selecting high-quality ingredients is essential. Start with fresh heavy cream and whole milk. These ingredients provide the rich, creamy texture that makes your ice cream so delightful. Look for cream that has a high fat content, as this will contribute to a smoother consistency.
When it comes to sugar, granulated sugar works best for sweetness and texture. If you prefer a healthier option, consider using natural sweeteners like honey or maple syrup, but keep in mind that this may alter the flavor slightly. For the vanilla extract, always opt for pure vanilla instead of imitation. Pure vanilla extract has a richer flavor that enhances your ice cream.
Lastly, choose Oreo cookies that are fresh and crunchy. Stale cookies can affect the texture of your ice cream. If you want to experiment, try using different flavors of Oreos, like mint or peanut butter, to create unique variations of your ice cream. The right ingredients will make all the difference in achieving that perfect homemade treat!
Storage Tips for Ice Cream
Proper storage is crucial for maintaining the quality of your Homemade Vanilla Oreo Ice Cream. After making your ice cream, transfer it to an airtight container. This helps prevent ice crystals from forming, which can ruin the creamy texture. Make sure to smooth the top of the ice cream before sealing the container to minimize air exposure.
Store your ice cream in the coldest part of your freezer, usually at the back. Avoid placing it in the door, as the temperature fluctuates more there. Homemade ice cream is best enjoyed within two weeks for optimal freshness, but it can last up to a month if stored properly. If you notice any ice crystals forming on the surface, simply stir the ice cream before serving to restore its creamy consistency.
When you’re ready to enjoy your ice cream, let it sit at room temperature for a few minutes before scooping. This will make it easier to serve and ensure you get those perfect scoops every time. With these storage tips, your Homemade Vanilla Oreo Ice Cream will stay delicious and ready to satisfy your sweet cravings!
Breakdown of Time for Homemade Vanilla Oreo Ice Cream
Prep Time
Preparing your Homemade Vanilla Oreo Ice Cream is a breeze! The prep time is approximately 15 minutes. This includes gathering your ingredients, mixing the base, and folding in the Oreo cookies. It’s a quick and enjoyable process that sets the stage for your delicious treat. Make sure to have everything ready before you start, as this will help you move smoothly through each step!
Cooking Time
When it comes to cooking time, the churning process takes about 20 to 30 minutes if you’re using an ice cream maker. This is when the magic happens, as the mixture transforms into a creamy delight. If you don’t have an ice cream maker, you’ll need to stir the mixture every 30 minutes for about 2 to 3 hours while it freezes in a shallow dish. This method requires a bit more time but is still easy to manage!
Total Time
In total, you should expect to spend around 4 to 5 hours to make your Homemade Vanilla Oreo Ice Cream. This includes the prep time, cooking time, and the final freezing period. The majority of this time is hands-off, allowing you to relax while your ice cream sets. Once it’s ready, you’ll have a delightful treat to enjoy with family and friends!
Nutritional Information for Homemade Vanilla Oreo Ice Cream
Calories
When indulging in Homemade Vanilla Oreo Ice Cream, it’s good to know the calorie content. A typical serving size of about half a cup contains approximately 250 calories. This number can vary slightly based on the specific ingredients you use, such as the type of cream or the amount of sugar. While it’s a treat, enjoying it in moderation can fit into a balanced diet. Remember, the joy of homemade ice cream is not just in the taste but also in the experience of making it!
Protein
In terms of protein, each serving of Homemade Vanilla Oreo Ice Cream provides around 4 grams. This protein comes mainly from the whole milk and heavy cream used in the recipe. While ice cream isn’t a significant source of protein, it does contribute to your daily intake. Pairing it with a protein-rich snack, like nuts or yogurt, can help balance your dessert with some extra nutrition!
Sodium
As for sodium content, a serving of this delicious ice cream contains about 80 milligrams. This amount is relatively low, making it a suitable treat for most diets. However, if you are watching your sodium intake, be mindful of other salty snacks you may consume alongside your ice cream. Enjoying this sweet treat can be part of a healthy lifestyle when balanced with other nutritious foods!
FAQs about Homemade Vanilla Oreo Ice Cream
Can I use different types of cookies?
Absolutely! One of the best things about making homemade ice cream is the flexibility it offers. You can experiment with various types of cookies to create unique flavors. For instance, try using chocolate chip cookies for a classic twist or mint Oreos for a refreshing change. You can even mix in graham crackers or peanut butter cookies for a fun flavor combination. The key is to choose cookies that complement the creamy vanilla base. So, feel free to get creative and find your favorite cookie combination!
How long does homemade ice cream last?
Homemade ice cream is best enjoyed fresh, but it can last in the freezer for about two weeks. If stored properly in an airtight container, it can remain good for up to a month. However, the texture may change over time, becoming a bit harder or icy. To maintain its creamy consistency, try to minimize air exposure by smoothing the top before sealing the container. If you notice ice crystals forming, simply stir the ice cream before serving to restore its delightful texture!
Is it necessary to churn the ice cream?
Churning is an important step in making ice cream, as it incorporates air into the mixture, resulting in a light and fluffy texture. However, if you don’t have an ice cream maker, you can still make delicious ice cream! Just pour the mixture into a shallow dish and freeze it. Stir the mixture every 30 minutes for about 2 to 3 hours. This method helps break up ice crystals and creates a creamy consistency, even without churning. So, while churning is ideal, it’s not absolutely necessary!
Can I make this recipe without an ice cream maker?
Yes, you can definitely make Homemade Vanilla Oreo Ice Cream without an ice cream maker! As mentioned earlier, simply pour your mixture into a shallow dish and place it in the freezer. Stir it every 30 minutes for 2 to 3 hours until it reaches a creamy texture. This method is easy and still yields a delicious treat. So, don’t let the lack of an ice cream maker stop you from enjoying this delightful dessert!
Conclusion on Homemade Vanilla Oreo Ice Cream
Recap of the Recipe Benefits
Homemade Vanilla Oreo Ice Cream is not just a treat; it’s an experience! This recipe allows you to create a creamy, delicious dessert that combines the classic flavors of vanilla and Oreo cookies. You have complete control over the ingredients, ensuring that every scoop is fresh and free from artificial additives. Plus, the process of making ice cream at home is fun and rewarding. You can customize it to your liking, whether you want to add different flavors or mix-ins. The joy of sharing this delightful dessert with family and friends makes it even more special. With just a few simple steps, you can whip up a batch that will impress everyone!
Encouragement to Try Making It at Home
So, why not give it a try? Making Homemade Vanilla Oreo Ice Cream is easier than you might think. Gather your ingredients, follow the steps, and enjoy the satisfaction of creating something delicious from scratch. Whether it’s a hot summer day or a cozy evening at home, this ice cream is perfect for any occasion. Don’t hesitate to experiment with flavors and mix-ins to make it your own. Dive into the world of homemade ice cream, and you’ll discover a delightful treat that’s sure to bring smiles to your loved ones. Happy ice cream making!
Relevant Recipes Link:
Craving more frozen dessert recipes? Indulge in these irresistible treats:
- Homemade Vanilla Custard Ice Cream: A Must-Try Frozen Delight
- Homemade Blackberry Pie Ice Cream: A Sweet and Tangy Delight
- Classic Vanilla Ice Cream: A Timeless Favorite
For more fantastic recipes and food inspiration, follow us on Pinterest!