Introduction to Easy Cherry Cobbler
What Makes Easy Cherry Cobbler Special?
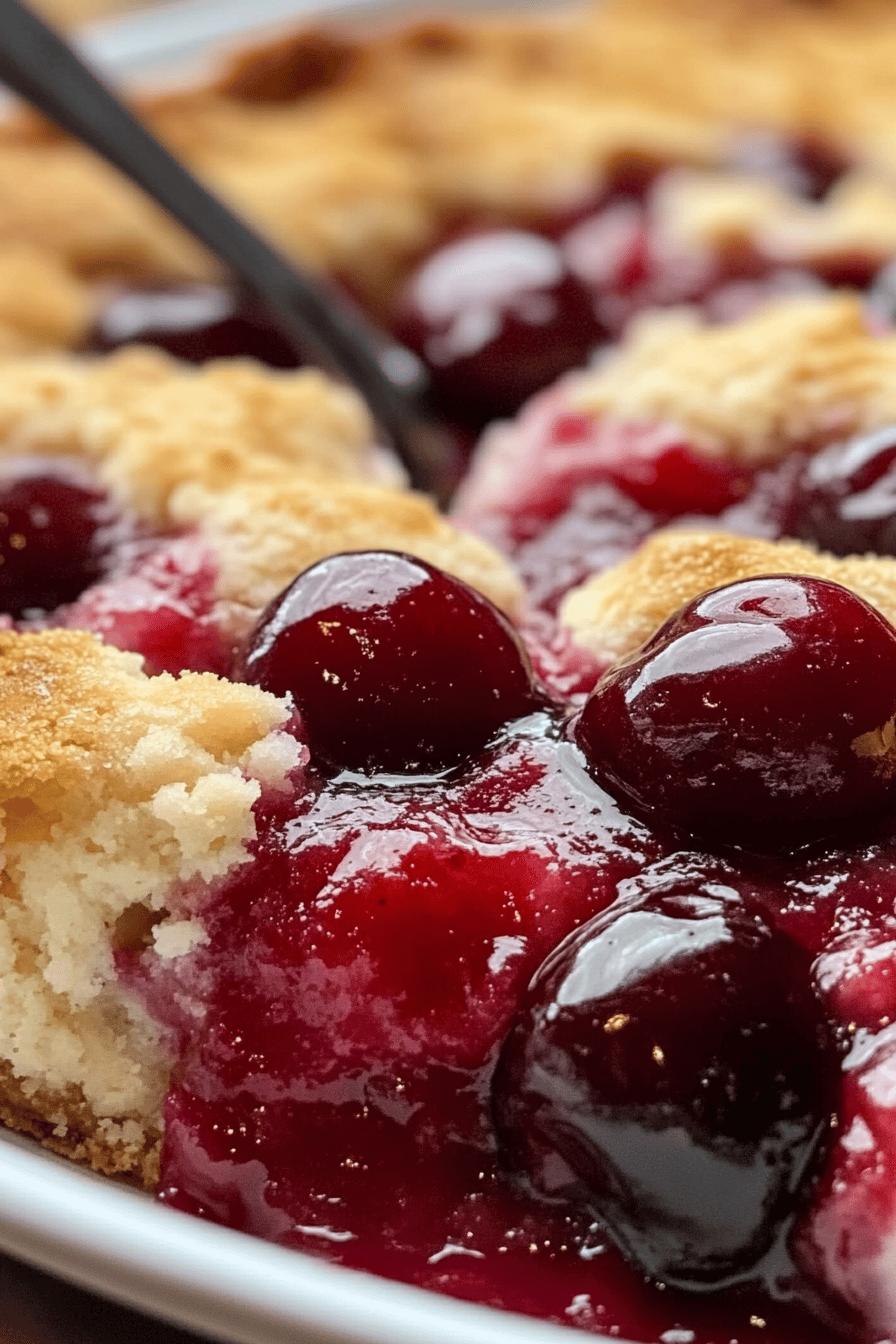
Easy Cherry Cobbler is a delightful dessert that brings joy to any table. What makes it special? First, it combines the tartness of fresh cherries with a sweet, buttery topping. This creates a perfect balance of flavors. The cobbler is not only delicious but also incredibly easy to make. You don’t need to be a baking expert to whip this up. With just a few simple ingredients, you can create a warm, comforting treat that everyone will love.
Moreover, the aroma of cherries baking in the oven is simply irresistible. As it cooks, your kitchen fills with a sweet scent that makes your mouth water. Each bite offers a burst of fruity goodness, making it a favorite among dessert lovers. Plus, it’s a versatile recipe. You can enjoy it warm, cold, or even with a scoop of ice cream on top!
The Perfect Dessert for Any Occasion
Whether it’s a family gathering, a picnic, or a cozy night in, Easy Cherry Cobbler fits right in. It’s perfect for summer barbecues or holiday dinners. You can serve it as a sweet ending to a meal or as a delightful snack during the day. The best part? It’s quick to prepare, so you can spend more time enjoying the company of your loved ones.
Additionally, this cobbler is a great way to use seasonal cherries when they are at their peak. However, if cherries are out of season, you can easily substitute them with other fruits. This flexibility makes it a go-to recipe all year round. So, gather your ingredients and get ready to impress your friends and family with this easy and delicious cherry cobbler!
Ingredients for Easy Cherry Cobbler
To make the best Easy Cherry Cobbler, you’ll need a few simple ingredients. Most of these items are likely already in your pantry. Here’s what you’ll need:
- 4 cups fresh or frozen cherries, pitted
- 1 cup granulated sugar
- 1 tablespoon lemon juice
- 1 teaspoon vanilla extract
- 1 cup all-purpose flour
- 1 cup milk
- 1/2 cup unsalted butter, melted
- 1 tablespoon baking powder
- 1 teaspoon ground cinnamon
- 1/2 teaspoon salt
These ingredients come together to create a delightful dessert that’s both sweet and satisfying. The cherries provide a juicy base, while the buttery topping adds a comforting crunch. If you’re using frozen cherries, there’s no need to thaw them before baking. Just toss them in with the other ingredients, and you’re good to go!
Feel free to adjust the sugar based on your taste. If you prefer a less sweet cobbler, you can reduce the sugar by a quarter cup. This recipe is all about making it your own, so don’t hesitate to experiment!
Step-by-Step Preparation of Easy Cherry Cobbler
Step 1: Preheat the Oven
Before you start mixing ingredients, it’s important to preheat your oven. Set it to 350°F (175°C). This ensures that your cobbler bakes evenly and comes out perfectly golden brown. While the oven heats up, you can prepare the cherry filling and cobbler topping. This step is crucial for achieving that delightful texture and flavor.
Step 2: Prepare the Cherry Filling
Now, let’s get to the cherries! In a large mixing bowl, combine the pitted cherries, granulated sugar, lemon juice, and vanilla extract. Stir gently to coat the cherries evenly. The sugar will help draw out the juices from the cherries, creating a delicious filling. Allow this mixture to sit for about 10 minutes. This resting time enhances the flavor and makes the filling even juicier.
Step 3: Make the Cobbler Topping
While the cherry filling is resting, it’s time to whip up the cobbler topping. In another bowl, mix together the all-purpose flour, baking powder, ground cinnamon, and salt. Then, add the melted butter and milk to the dry ingredients. Stir until just combined. Be careful not to overmix; a few lumps are perfectly fine. This will create a light and fluffy topping that contrasts beautifully with the juicy cherries.
Step 4: Assemble the Cobbler
Now comes the fun part—assembling your cobbler! In a greased baking dish, pour the cherry filling evenly across the bottom. Next, spoon the cobbler topping over the cherries. It’s okay if some cherries peek through; this adds to the charm of the dish. Spread the topping gently to cover as much of the filling as possible. This will create a lovely crust as it bakes.
Step 5: Bake to Perfection
Place your assembled cobbler in the preheated oven. Bake for about 30 to 35 minutes, or until the topping is golden brown and a toothpick inserted into the center comes out clean. The aroma of baking cherries and cinnamon will fill your kitchen, making it hard to wait! Once done, remove the cobbler from the oven and let it cool for a few minutes before serving. This cooling time allows the filling to set slightly, making it easier to slice.
Variation of Easy Cherry Cobbler
Alternative Fruits to Use
If cherries aren’t your favorite or if they’re out of season, don’t worry! You can easily switch things up with other fruits. This recipe is quite versatile. Here are some delicious alternatives:
- Peaches: Fresh or canned peaches work wonderfully. Their sweetness pairs beautifully with the cobbler topping.
- Blueberries: These tiny berries burst with flavor and add a lovely color to your dish.
- Apples: Sliced apples can create a comforting, classic cobbler. Just add a bit more cinnamon for extra flavor.
- Mixed Berries: A combination of strawberries, raspberries, and blackberries can create a delightful medley.
Feel free to mix and match these fruits based on what you have on hand. Each fruit brings its unique flavor, making your cobbler a new experience every time!
Gluten-Free Options
For those who need a gluten-free option, you can still enjoy this delicious cobbler! Simply substitute the all-purpose flour with a gluten-free flour blend. Many blends work well in baking, so choose one that you like. Here’s how to make your Easy Cherry Cobbler gluten-free:
- Use a 1:1 gluten-free flour blend. This type of flour is designed to replace regular flour without changing the taste or texture.
- Check that your baking powder is gluten-free. Most brands are, but it’s always good to double-check.
- Consider adding a bit of xanthan gum if your gluten-free flour blend doesn’t already contain it. This helps with the texture.
With these simple adjustments, you can enjoy a scrumptious gluten-free Easy Cherry Cobbler that everyone will love!
Cooking Note for Easy Cherry Cobbler
When making Easy Cherry Cobbler, a few cooking notes can help ensure your dessert turns out perfectly every time. First, always use ripe, fresh cherries for the best flavor. If you opt for frozen cherries, remember they may release more juice during baking. This can make your cobbler a bit more saucy, which some people love!
Another important tip is to let the cobbler cool slightly after baking. This cooling period allows the filling to set, making it easier to serve. If you cut into it too soon, the filling may spill out, and you won’t get those beautiful slices. Patience is key!
Also, consider the type of baking dish you use. A glass or ceramic dish is ideal for even cooking. If you use a metal pan, keep an eye on the baking time, as it may cook faster. Lastly, don’t hesitate to sprinkle a little extra cinnamon or sugar on top before baking for an added touch of flavor and sweetness.
By keeping these cooking notes in mind, you’ll create a delightful Easy Cherry Cobbler that’s sure to impress your family and friends!
Serving Suggestions for Easy Cherry Cobbler
Pairing with Ice Cream or Whipped Cream
One of the best ways to enjoy your Easy Cherry Cobbler is by pairing it with a scoop of vanilla ice cream or a dollop of whipped cream. The creamy texture of ice cream complements the warm, fruity cobbler perfectly. As you take a bite, the cold ice cream melts into the warm cobbler, creating a delightful contrast that’s simply irresistible.
If you prefer whipped cream, it adds a light and airy touch to the dessert. Just spoon some over the top of your cobbler right before serving. You can even sprinkle a little cinnamon or chocolate shavings on top for an extra special treat. Both options enhance the flavors of the cobbler and make it feel even more indulgent.
Serving Warm vs. Cold
When it comes to serving Easy Cherry Cobbler, you have two delicious options: warm or cold. Many people enjoy it warm, straight from the oven. The warmth brings out the flavors of the cherries and makes the topping soft and inviting. It’s a comforting choice, especially on a chilly day.
However, some prefer to let the cobbler cool and serve it cold. This can be refreshing, especially during hot summer months. Cold cobbler can also be a great make-ahead dessert. Just store it in the fridge after it cools down, and it will be ready to enjoy later. No matter how you choose to serve it, Easy Cherry Cobbler is sure to be a hit!
Tips for Making the Best Easy Cherry Cobbler
Choosing the Right Cherries
When it comes to making the best Easy Cherry Cobbler, selecting the right cherries is crucial. Fresh, ripe cherries will give your cobbler the best flavor and texture. Look for cherries that are firm, plump, and shiny. They should have a deep red color, indicating ripeness. If you can, taste a cherry before buying. A sweet, juicy cherry will enhance your cobbler immensely.
If fresh cherries are not available, frozen cherries are a great alternative. They are picked at peak ripeness and flash-frozen, preserving their flavor. Just remember, frozen cherries may release more juice during baking. This can create a saucier cobbler, which some people love! If you prefer a thicker filling, you can add a tablespoon of cornstarch to the cherry mixture. This will help absorb some of the extra juice and keep your cobbler from becoming too runny.
Adjusting Sweetness to Taste
Another important tip for making your Easy Cherry Cobbler is adjusting the sweetness to your liking. The amount of sugar you use can greatly affect the final taste. If you prefer a less sweet dessert, feel free to reduce the sugar by a quarter cup. This allows the natural tartness of the cherries to shine through.
On the other hand, if you enjoy a sweeter cobbler, you can add a bit more sugar. Just keep in mind that the sweetness of the cherries can vary. Some cherries are sweeter than others, so taste your filling before baking. You can always add a little more sugar if needed. Additionally, consider using brown sugar instead of granulated sugar for a deeper flavor. Brown sugar adds a hint of caramel that pairs beautifully with cherries.
By choosing the right cherries and adjusting the sweetness, you can create a personalized Easy Cherry Cobbler that suits your taste perfectly. Enjoy experimenting with these tips to make your dessert truly special!
Breakdown of Time for Easy Cherry Cobbler
Prep Time
Preparing your Easy Cherry Cobbler is a breeze! The prep time is approximately 15 to 20 minutes. This includes gathering your ingredients, pitting the cherries, and mixing the filling and topping. It’s a quick process that allows you to get your dessert ready in no time. Just imagine the delicious aroma filling your kitchen while you prepare!
Cooking Time
Once your cobbler is assembled, it’s time to bake! The cooking time is about 30 to 35 minutes. During this time, the topping will become golden brown, and the cherries will bubble with flavor. Keep an eye on it as it bakes, and you’ll know it’s ready when the topping is perfectly browned and a toothpick comes out clean.
Total Time
In total, you can expect to spend around 50 to 55 minutes from start to finish. This includes both prep and cooking time. With such a short time commitment, you can easily whip up this delightful dessert for any occasion. Whether it’s a family dinner or a last-minute gathering, Easy Cherry Cobbler is a fantastic choice that won’t keep you in the kitchen for long!
Nutritional Information for Easy Cherry Cobbler
Calories
When indulging in a slice of Easy Cherry Cobbler, it’s good to know what you’re enjoying. On average, one serving of this delightful dessert contains about 250 to 300 calories. This number can vary based on the specific ingredients you use, such as the type of sugar or butter. If you’re looking to cut down on calories, consider using less sugar or a lighter butter substitute. However, remember that this cobbler is a treat, and enjoying it in moderation is key!
Protein
In terms of protein, each serving of Easy Cherry Cobbler provides around 3 to 5 grams. The protein mainly comes from the milk and flour used in the recipe. If you want to boost the protein content, you can add a scoop of protein powder to the topping mixture. This way, you can enjoy your dessert while also getting a little extra nutrition!
Sodium
As for sodium, a serving of Easy Cherry Cobbler typically contains about 150 to 200 milligrams. This amount is relatively low, making it a suitable dessert option for most diets. If you’re watching your sodium intake, you can use unsalted butter and check the sodium content of your baking powder. These small adjustments can help keep your dessert within your dietary needs.
Overall, Easy Cherry Cobbler is a delicious dessert that can fit into a balanced diet. Enjoy it as a special treat, and don’t forget to share it with family and friends!
FAQs about Easy Cherry Cobbler
Can I use frozen cherries for Easy Cherry Cobbler?
Absolutely! Frozen cherries are a fantastic option for making Easy Cherry Cobbler. They are picked at their peak ripeness and flash-frozen, preserving their flavor and nutrients. You don’t even need to thaw them before using. Just toss them directly into your cherry filling mixture. Keep in mind that frozen cherries may release more juice during baking, which can make your cobbler a bit saucier. If you prefer a thicker filling, consider adding a tablespoon of cornstarch to help absorb some of that extra juice.
How do I store leftover Easy Cherry Cobbler?
Storing leftover Easy Cherry Cobbler is simple! Allow the cobbler to cool completely before covering it. You can store it in an airtight container in the refrigerator for up to 3 to 4 days. If you want to keep it longer, consider freezing it. Just wrap the cobbler tightly in plastic wrap and then in aluminum foil. It can be frozen for up to 3 months. When you’re ready to enjoy it again, thaw it in the fridge overnight and reheat in the oven for a few minutes to restore its deliciousness.
Can I make Easy Cherry Cobbler ahead of time?
Yes, you can make Easy Cherry Cobbler ahead of time! This dessert is perfect for preparing in advance. You can assemble the cobbler and store it in the refrigerator before baking. Just cover it tightly with plastic wrap. When you’re ready to serve, simply bake it as directed. If you prefer, you can also bake it ahead of time and reheat it before serving. Just remember that the cobbler is best enjoyed fresh, so try to consume it within a few days for optimal taste and texture.
What can I substitute for butter in Easy Cherry Cobbler?
If you need a substitute for butter in your Easy Cherry Cobbler, there are several options available. You can use coconut oil, which adds a subtle flavor and works well in baking. Another great alternative is unsweetened applesauce, which can make your cobbler a bit healthier and lower in fat. If you prefer a dairy-free option, consider using a plant-based butter or margarine. Just keep in mind that the texture and flavor may vary slightly, but your cobbler will still be delicious!
Conclusion on Easy Cherry Cobbler
Final Thoughts on This Delicious Dessert
In conclusion, Easy Cherry Cobbler is a delightful dessert that brings warmth and joy to any occasion. Its simple preparation and comforting flavors make it a favorite among families and friends. Whether you’re celebrating a special event or just enjoying a cozy night at home, this cobbler is sure to impress.
With its juicy cherry filling and buttery topping, each bite is a sweet reminder of the joys of homemade treats. Plus, the versatility of this recipe allows you to experiment with different fruits and dietary needs, making it accessible for everyone. Remember, the key to a great cobbler lies in choosing the right cherries and adjusting the sweetness to your taste.
So, gather your ingredients, preheat your oven, and get ready to create a delicious Easy Cherry Cobbler that will have everyone asking for seconds. Enjoy it warm with a scoop of ice cream or let it cool for a refreshing treat. No matter how you serve it, this cobbler is bound to become a cherished recipe in your home. Happy baking!
Relevant Recipes Link:
Craving more delicious recipes to try at home? Look no further than these mouthwatering options:
- Easy Cheesy Garlic Bread: A Must-Try Recipe
- Saucy Chicken Stir-Fry Noodles: Make Dinner Easy
- Easter Candy Clusters: A Must-Try Treat
For more fantastic recipes and food inspiration, follow us on Pinterest!