Introduction to DIY Aroma Stones Recipe
What Are DIY Aroma Stones?
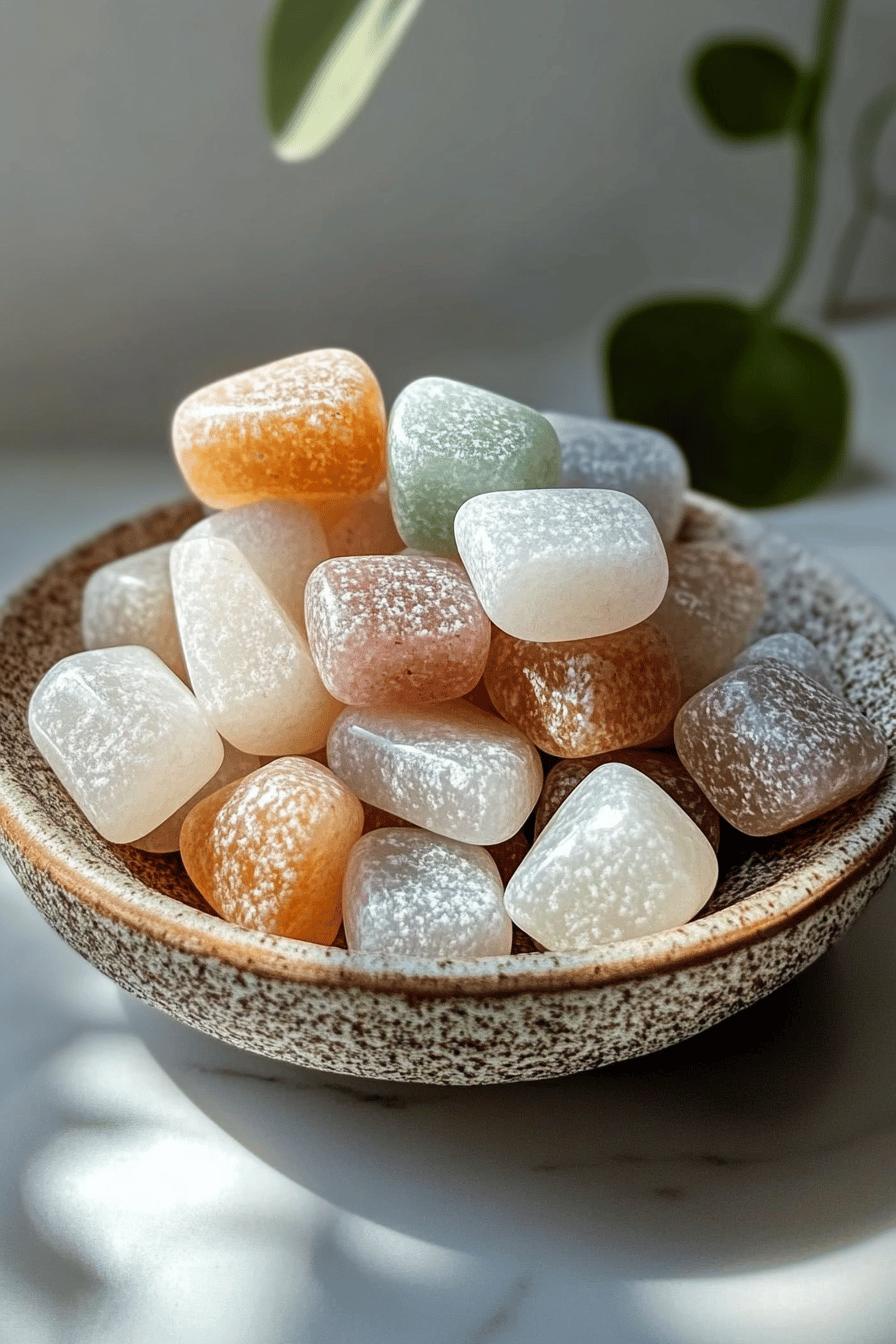
DIY aroma stones are delightful little creations that bring a soothing scent to your home. Made from simple ingredients like baking soda and essential oils, these stones are easy to craft. They absorb the fragrance and release it slowly, creating a calming atmosphere. You can customize them with your favorite scents, making them perfect for any room. Whether you want a fresh citrus smell in the kitchen or a relaxing lavender aroma in the bedroom, DIY aroma stones can do it all!
Benefits of Using DIY Aroma Stones
Using DIY aroma stones offers many benefits. First, they are a natural way to freshen up your space. Unlike chemical air fresheners, these stones use essential oils, which are derived from plants. This means you can enjoy a pleasant scent without harmful additives. Second, they are long-lasting. Once made, aroma stones can release their fragrance for weeks, providing continuous enjoyment.
Additionally, crafting these stones can be a fun and creative activity. You can involve family and friends, making it a great bonding experience. Plus, they make thoughtful gifts! Imagine giving someone a beautifully scented stone that you made yourself. It’s a personal touch that shows you care.
Lastly, DIY aroma stones are versatile. You can place them in various spots around your home, such as on a shelf, in a drawer, or even in your car. They not only smell great but also add a decorative element to your decor. So, why not elevate your home with these charming and fragrant stones?
Ingredients for DIY Aroma Stones Recipe
Creating your own DIY aroma stones is simple and requires just a few basic ingredients. Here’s what you’ll need:
- Baking Soda: This is the main ingredient that forms the base of your aroma stones. It helps absorb moisture and scent, making it perfect for this recipe.
- Water: You’ll need water to mix with the baking soda. It helps to create a dough-like consistency.
- Essential Oils: Choose your favorite essential oils for fragrance. Popular options include lavender, lemon, eucalyptus, and peppermint. Each oil brings its unique scent and benefits.
- Optional Colorants: If you want to add a splash of color to your aroma stones, consider using natural colorants like beet juice or food coloring.
- Silicone Molds: These molds will shape your stones. You can use any shape you like, from hearts to stars!
With these ingredients on hand, you’re ready to start crafting your DIY aroma stones. The process is not only enjoyable but also allows you to personalize the scents to match your mood or the season. Let’s move on to the next step and gather your materials!
Step-by-Step Preparation of DIY Aroma Stones Recipe
Step 1: Gather Your Materials
Before you start making your DIY aroma stones, it’s important to gather all your materials. This will make the process smooth and enjoyable. Here’s a quick checklist:
- Baking soda
- Water
- Your favorite essential oils
- Optional colorants (like beet juice or food coloring)
- Silicone molds
- A mixing bowl
- A spoon or spatula for mixing
Having everything ready will help you focus on creating your beautiful aroma stones without any interruptions. Now that you have your materials, let’s move on to the next step!
Step 2: Mix the Base Ingredients
In a mixing bowl, combine one cup of baking soda with half a cup of water. Use your spoon or spatula to mix them together. You want to achieve a dough-like consistency. If the mixture is too dry, add a little more water. If it’s too wet, sprinkle in a bit more baking soda. The goal is to have a thick paste that holds its shape when pressed.
This step is crucial because the baking soda acts as a base that absorbs the essential oils, allowing your aroma stones to release their scent over time. Once you have the right consistency, you’re ready for the next step!
Step 3: Add Essential Oils
Now comes the fun part! Choose your favorite essential oils and add them to the mixture. Start with about 10-15 drops, but feel free to adjust based on how strong you want the scent to be. Stir the mixture well to ensure the oils are evenly distributed. The aroma will start to fill the air, making the process even more enjoyable!
Remember, different essential oils have different properties. For example, lavender is calming, while lemon is uplifting. Choose scents that match your mood or the atmosphere you want to create in your home.
Step 4: Shape the Aroma Stones
Once your mixture is ready, it’s time to shape your aroma stones. Take your silicone molds and fill them with the mixture. Press down firmly to ensure there are no air pockets. You can create various shapes, from simple circles to fun animal designs. This is where your creativity shines!
After filling the molds, smooth the tops with your spatula for a neat finish. This will make your aroma stones look even more appealing once they’re dry. Now, let’s move on to the drying process!
Step 5: Drying Process
After shaping your aroma stones, it’s time to let them dry. Place the filled molds in a cool, dry area. Allow them to dry for at least 24 hours. If you live in a humid environment, it may take longer. You can tell they are ready when they feel hard and firm to the touch.
For quicker drying, you can also place them in a low-temperature oven (around 200°F or 93°C) for about 1-2 hours. Just keep an eye on them to prevent burning. Once they are completely dry, you can remove them from the molds.
Step 6: Final Touches
Once your aroma stones are out of the molds, it’s time for the final touches. If you want to add color, you can paint them with natural dyes or even use a clear sealant to give them a glossy finish. This step is optional but can enhance their appearance.
Finally, let your stones cure for another day or two to ensure they are fully set. Once they are ready, you can place them around your home or gift them to friends and family. Enjoy the delightful scents and the beautiful ambiance they create!
Variations of DIY Aroma Stones Recipe
Different Essential Oil Combinations
One of the best parts about making DIY aroma stones is the ability to customize the scents. You can mix and match essential oils to create unique combinations that suit your preferences. Here are some delightful pairings to consider:
- Relaxing Lavender and Chamomile: This combination is perfect for creating a calming atmosphere. It’s great for bedrooms or relaxation spaces.
- Uplifting Citrus Blend: Mix lemon, orange, and grapefruit oils for a refreshing and energizing scent. This blend is ideal for kitchens or workspaces.
- Invigorating Mint and Eucalyptus: This duo is fantastic for clearing the air and promoting focus. Place these aroma stones in your study or home office.
- Warm Spices: Combine cinnamon and clove for a cozy, inviting scent. This blend is perfect for the fall and winter months.
- Floral Delight: Mix rose and geranium oils for a sweet, romantic fragrance. These aroma stones can brighten up any living area.
Feel free to experiment with different ratios of oils to find the perfect scent for you. The possibilities are endless, and you can create a new blend for every season or occasion!
Adding Color to Your Aroma Stones
Adding color to your DIY aroma stones can make them even more visually appealing. Here are some fun ways to incorporate color:
- Natural Colorants: Use beet juice for a lovely pink hue or turmeric for a sunny yellow. These natural options are safe and add a unique touch.
- Food Coloring: If you prefer, you can use food coloring to achieve vibrant shades. Just a few drops can create a beautiful effect.
- Layering Colors: For a creative twist, you can layer different colors in your molds. Pour one color, let it set slightly, then add another color on top for a marbled look.
Remember, the color you choose can reflect the mood you want to create. Bright colors can energize a space, while softer tones can promote relaxation. Have fun with this step and let your creativity shine!
Cooking Note for DIY Aroma Stones Recipe
While making DIY aroma stones is a fun and straightforward process, there are a few important cooking notes to keep in mind. These tips will help ensure your aroma stones turn out perfectly every time.
First, always measure your ingredients accurately. Using too much water can make the mixture too runny, while too little can lead to a dry, crumbly texture. Aim for that dough-like consistency for the best results.
Second, when adding essential oils, consider the quality of the oils you choose. High-quality, pure essential oils will provide a stronger and more pleasant scent. Avoid synthetic fragrances, as they may not offer the same benefits and can be less enjoyable.
Additionally, if you decide to use colorants, test a small amount first. This way, you can see how the color interacts with the baking soda mixture. Some colorants may alter the texture or drying time, so it’s good to experiment a little.
Lastly, patience is key during the drying process. Rushing this step can lead to stones that crumble or break easily. Allow your aroma stones to dry completely before removing them from the molds. If you opt for the oven method, keep the temperature low to avoid burning the stones.
By following these cooking notes, you’ll create beautiful and fragrant DIY aroma stones that enhance your home’s atmosphere. Enjoy the process and the delightful scents that will fill your space!
Serving Suggestions for DIY Aroma Stones Recipe
Where to Place Your Aroma Stones
Finding the perfect spots for your DIY aroma stones can enhance their effectiveness and beauty. Here are some ideal locations to consider:
- Living Room: Place aroma stones on coffee tables or shelves to create a welcoming atmosphere. Choose scents that promote relaxation, like lavender or chamomile.
- Bedroom: Set aroma stones on nightstands or dressers. Calming scents like sandalwood or jasmine can help you unwind and improve sleep quality.
- Kitchen: Keep citrus-scented aroma stones, such as lemon or orange, on countertops. They can help neutralize cooking odors and create a fresh environment.
- Bathroom: Use aroma stones with refreshing scents like eucalyptus or mint. Place them near sinks or in cabinets to keep the space smelling clean and inviting.
- Car: Small aroma stones can be placed in cup holders or on dashboards. They can provide a pleasant scent during your daily commute.
By strategically placing your aroma stones, you can enjoy their delightful fragrances throughout your home. Experiment with different scents in various rooms to find the perfect match for each space!
Using Aroma Stones as Gifts
DIY aroma stones make thoughtful and personalized gifts for friends and family. Here are some creative ways to present them:
- Gift Sets: Create a set of aroma stones with different scents. Package them in a decorative box or basket, adding a personal touch with a handwritten note.
- Seasonal Gifts: Tailor the scents to the season. For example, use warm spices like cinnamon for fall or fresh florals for spring. This adds a festive touch to your gifts.
- Party Favors: If you’re hosting a gathering, consider giving guests a small aroma stone as a party favor. It’s a unique way to thank them for attending.
- Personalized Touch: Customize the aroma stones with colors and scents that reflect the recipient’s personality. This shows you put thought into their gift.
Whether for birthdays, holidays, or just because, DIY aroma stones are a delightful way to share the joy of aromatherapy. Your loved ones will appreciate the effort and enjoy the lovely scents in their homes!
Tips for Making the Best DIY Aroma Stones Recipe
Creating the perfect DIY aroma stones can be a rewarding experience. To ensure your stones turn out beautifully and effectively, here are some helpful tips to keep in mind:
- Choose Quality Ingredients: Always opt for high-quality baking soda and pure essential oils. This will enhance the scent and longevity of your aroma stones. Avoid synthetic oils, as they may not provide the same benefits.
- Experiment with Ratios: Don’t hesitate to adjust the amount of essential oils based on your scent preference. If you love a strong fragrance, add a few more drops. For a subtle scent, stick to the recommended amount.
- Test Colorants: If you’re adding color, test a small amount of your chosen colorant first. This will help you see how it interacts with the baking soda mixture and ensure it doesn’t affect the texture.
- Use Different Molds: Get creative with your molds! You can use various shapes to match your home decor or the season. Fun shapes can also make great gifts.
- Allow for Proper Drying: Patience is key! Ensure your aroma stones dry completely before removing them from the molds. This will prevent them from crumbling or breaking.
- Store Properly: Once your aroma stones are ready, store them in a cool, dry place. If you notice the scent fading, you can refresh them by adding a few drops of essential oil directly onto the stones.
- Involve Others: Making aroma stones can be a fun group activity. Invite friends or family to join you in crafting. It’s a great way to bond and share ideas for different scents and designs.
By following these tips, you’ll be well on your way to creating beautiful and fragrant DIY aroma stones. Enjoy the process and the lovely scents that will fill your home!
Breakdown of Time for DIY Aroma Stones Recipe
Prep Time
The prep time for making DIY aroma stones is quite short and enjoyable. You can expect to spend about 15 to 20 minutes gathering your materials and mixing the ingredients. This includes measuring the baking soda, adding water, and incorporating your favorite essential oils. If you decide to add color, it may take a few extra minutes to mix in the colorants. Overall, this step is quick and allows you to unleash your creativity!
Drying Time
Drying time is the most crucial part of the process. After shaping your aroma stones, they need to dry completely to ensure they hold their form. Typically, this takes about 24 hours in a cool, dry area. However, if you live in a humid environment, it may take longer. Alternatively, you can speed up the drying process by placing them in a low-temperature oven (around 200°F or 93°C) for 1 to 2 hours. Just keep an eye on them to prevent any burning. Patience is key here, as fully dried stones will last longer and smell better!
Total Time
In total, you can expect to spend around 25 to 30 minutes on the entire DIY aroma stones recipe, not including the drying time. This makes it a perfect weekend project or a fun activity to do with friends or family. Once your stones are dry, you can enjoy their delightful scents for weeks to come. So, gather your materials, and let’s get crafting!
Nutritional Information for DIY Aroma Stones Recipe
Calories
When it comes to DIY aroma stones, you might be surprised to learn that they don’t contain any calories. Since these stones are not meant for consumption, they are purely decorative and aromatic. Instead of focusing on calories, think of the delightful scents they bring to your home. Enjoy the fresh fragrances without worrying about any nutritional content!
Protein
Similar to calories, DIY aroma stones do not provide any protein. The ingredients used, such as baking soda and essential oils, are not sources of protein. These stones are designed to enhance your living space with lovely aromas, not to contribute to your dietary needs. So, feel free to indulge in the scents without any concern for protein intake!
Sodium
In terms of sodium content, DIY aroma stones are also sodium-free. Baking soda does contain sodium, but the amount used in this recipe is minimal and not significant enough to impact your health. The focus here is on creating a calming and fragrant environment in your home, rather than nutritional values. Enjoy the soothing scents without any worries about sodium levels!
FAQs About DIY Aroma Stones Recipe
How long do DIY aroma stones last?
DIY aroma stones can last anywhere from a few weeks to several months, depending on the essential oils used and the environment they are placed in. Generally, the scent will gradually fade over time. To extend their lifespan, keep them in a cool, dry area away from direct sunlight. If you notice the fragrance diminishing, you can easily refresh them by adding a few drops of your favorite essential oil directly onto the stones.
Can I use any essential oil for DIY aroma stones?
Yes, you can use a variety of essential oils for your DIY aroma stones! However, it’s best to choose high-quality, pure essential oils to ensure a pleasant scent and avoid any synthetic additives. Popular options include lavender, lemon, eucalyptus, and peppermint. Just be cautious with oils that may be irritating or harmful, especially if you have pets or children in your home. Always do a little research on the oils you plan to use to ensure they are safe for your environment.
How do I refresh the scent of my aroma stones?
Refreshing the scent of your aroma stones is simple! Just add a few drops of your chosen essential oil directly onto the stones. This will reinvigorate their fragrance and keep your space smelling delightful. You can do this whenever you notice the scent fading. It’s a quick and easy way to maintain the lovely aromas in your home without needing to create new stones each time.
Are DIY aroma stones safe for pets?
While DIY aroma stones are generally safe for pets, it’s important to be cautious with the essential oils you choose. Some oils can be harmful to animals, especially cats and dogs. Oils like tea tree, citrus, and eucalyptus can be toxic to pets. Always research the essential oils you plan to use and consult with your veterinarian if you have any concerns. If in doubt, opt for pet-safe oils or keep the aroma stones in areas where your pets cannot access them.
Conclusion on DIY Aroma Stones Recipe
In conclusion, creating DIY aroma stones is a delightful and rewarding project that enhances your home with natural fragrances. These charming stones not only add a personal touch to your decor but also promote relaxation and well-being. With simple ingredients like baking soda and essential oils, you can craft unique scents that reflect your personality and mood.
As you explore the various combinations of essential oils and colors, remember that the possibilities are endless. Whether you prefer calming lavender or invigorating citrus, there’s a blend for every space in your home. Plus, these aroma stones make thoughtful gifts, allowing you to share the joy of aromatherapy with friends and family.
By following the easy steps outlined in this recipe, you can create beautiful aroma stones that will fill your home with delightful scents for weeks. Don’t forget to refresh them as needed and experiment with new combinations to keep things exciting. So, gather your materials, unleash your creativity, and enjoy the soothing ambiance that DIY aroma stones bring to your life!
Thank you for joining us on this aromatic journey. We hope you feel inspired to make your own DIY aroma stones and elevate your home with these lovely creations. Happy crafting!
Relevant Recipes Link:
Craving more decadent treats to satisfy your sweet tooth? Try these irresistible recipes:
- Red Velvet Brownies: A Decadent Indulgence
- DIY Pop Rocks Candy: A Fun Homemade Treat
- Decadent Brownie Cookies: Perfect for Chocolate Lovers
For more delectable recipes and culinary inspiration, follow us on Pinterest!