Introduction to Rocky Road Ice Cream
What Makes Rocky Road Ice Cream Special?
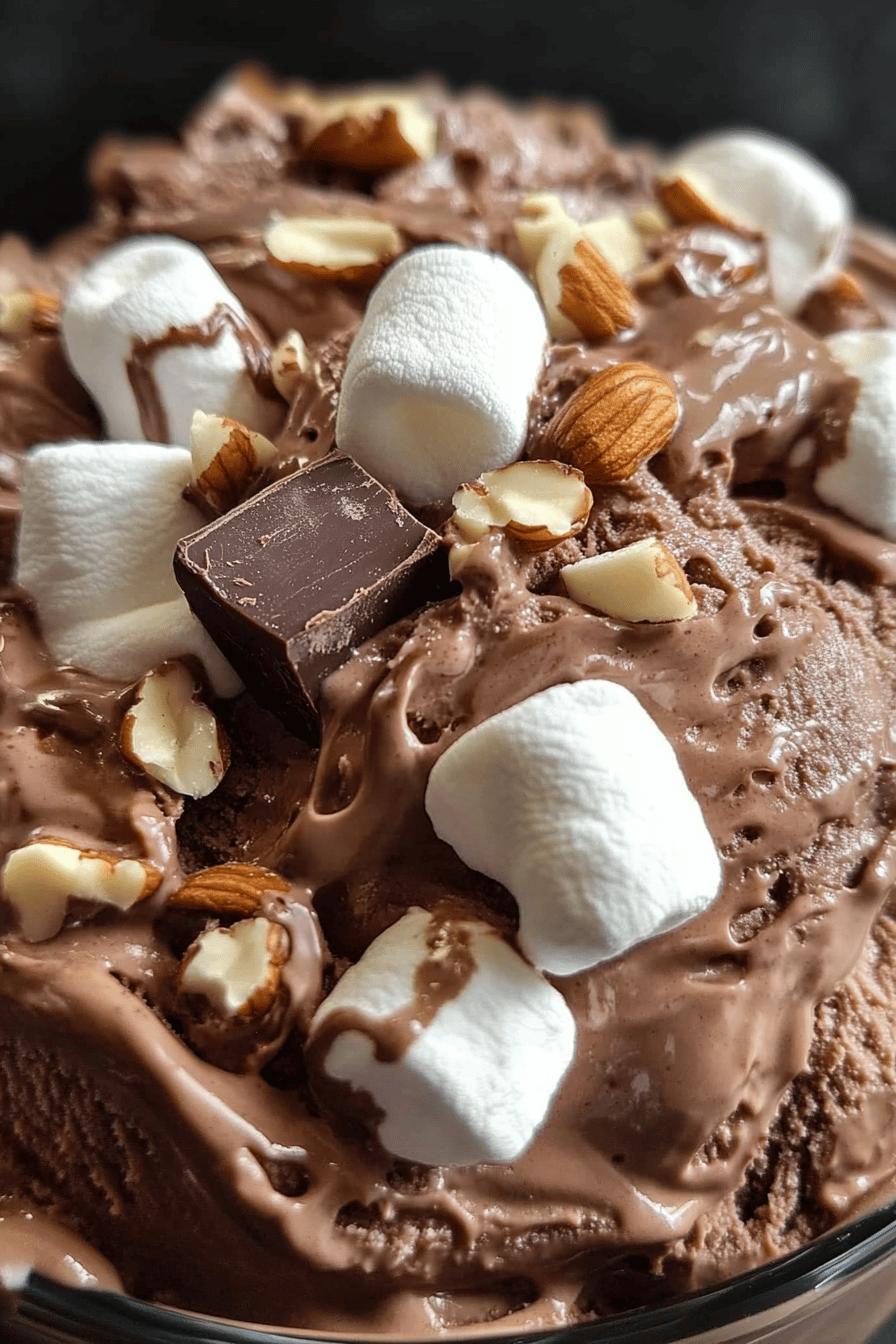
Rocky Road Ice Cream is a beloved classic that brings joy to many. Its unique combination of flavors and textures makes it stand out. The creamy base is rich and smooth, while the mini marshmallows add a delightful chewiness. Crunchy walnuts provide a satisfying crunch, and the chocolate chunks offer a burst of sweetness. Together, these ingredients create a symphony of taste that is hard to resist. Whether you’re enjoying it on a hot summer day or during a cozy movie night, Rocky Road Ice Cream is sure to please.
The Joy of Homemade Ice Cream
Making ice cream at home is a rewarding experience. It allows you to control the ingredients and customize flavors to your liking. Plus, there’s something special about creating a treat from scratch. The process can be fun for the whole family, turning a simple recipe into a memorable activity. Homemade ice cream is fresher and often tastes better than store-bought options. You can experiment with different mix-ins and flavors, making each batch unique. So, roll up your sleeves and get ready to enjoy the sweet satisfaction of homemade Rocky Road Ice Cream!
Ingredients for Rocky Road Ice Cream
To create your own delicious Rocky Road Ice Cream, you’ll need a few simple ingredients. Each one plays a vital role in achieving that perfect blend of flavors and textures. Here’s what you’ll need:
- 2 cups heavy cream: This is the base of your ice cream, providing a rich and creamy texture.
- 1 cup whole milk: Whole milk adds creaminess and helps balance the richness of the heavy cream.
- 3/4 cup granulated sugar: Sugar sweetens the ice cream and enhances the flavors of the mix-ins.
- 1 teaspoon vanilla extract: Vanilla adds a warm, inviting flavor that complements the chocolate and nuts.
- 1 cup mini marshmallows: These fluffy treats add a chewy texture and sweetness to every scoop.
- 1 cup chopped walnuts: Walnuts provide a crunchy contrast to the creamy base and soft marshmallows.
- 1 cup chocolate chunks or chips: Rich chocolate pieces are essential for that classic Rocky Road flavor.
Feel free to adjust the quantities based on your preferences. For instance, if you love chocolate, you can add more chocolate chunks. If you prefer a nut-free version, simply skip the walnuts. The beauty of homemade ice cream is that you can make it just the way you like!
Step-by-Step Preparation of Rocky Road Ice Cream
Step 1: Gather Your Ingredients
Before you start making your Rocky Road Ice Cream, it’s important to gather all your ingredients. This will make the process smoother and more enjoyable. Make sure you have:
- 2 cups heavy cream
- 1 cup whole milk
- 3/4 cup granulated sugar
- 1 teaspoon vanilla extract
- 1 cup mini marshmallows
- 1 cup chopped walnuts
- 1 cup chocolate chunks or chips
Having everything ready will help you focus on creating this delicious treat without any interruptions!
Step 2: Prepare the Base
Now it’s time to make the ice cream base. In a large mixing bowl, combine the heavy cream, whole milk, and granulated sugar. Use a whisk to mix everything together until the sugar is fully dissolved. This step is crucial as it ensures a smooth texture. Then, add the vanilla extract and mix again. Your base should be creamy and well-blended, ready for the next steps!
Step 3: Mix in the Chocolate and Nuts
Once your base is ready, it’s time to add the fun ingredients! Gently fold in the chocolate chunks and chopped walnuts. Be careful not to overmix; you want to keep the chunks intact for that delightful texture. The chocolate will melt slightly into the base, creating a rich flavor. The walnuts will add a nice crunch, making every bite exciting!
Step 4: Fold in the Marshmallows
Next, it’s time to add the mini marshmallows. These fluffy treats will give your ice cream that classic Rocky Road feel. Gently fold them into the mixture, ensuring they are evenly distributed. The marshmallows will add sweetness and a chewy texture that contrasts beautifully with the creamy base and crunchy nuts. This step is where the magic happens!
Step 5: Churn the Ice Cream
Now, it’s time to churn your ice cream! If you have an ice cream maker, pour the mixture into it and follow the manufacturer’s instructions. Churning incorporates air into the ice cream, making it light and fluffy. If you don’t have an ice cream maker, don’t worry! You can pour the mixture into a shallow dish and place it in the freezer. Stir it every 30 minutes for about 2-3 hours until it reaches a creamy consistency.
Step 6: Freeze and Set
After churning, transfer your Rocky Road Ice Cream into an airtight container. Smooth the top with a spatula and cover it tightly. Place it in the freezer for at least 4 hours, or until it’s firm. This final freezing step is essential for achieving that perfect scoopable texture. Once it’s set, your homemade Rocky Road Ice Cream will be ready to enjoy!
Variations of Rocky Road Ice Cream
Different Nut Options
While walnuts are a classic choice for Rocky Road Ice Cream, you can easily switch things up! Consider using pecans for a sweeter, buttery flavor. Almonds can add a delightful crunch and a hint of nuttiness. If you prefer a nut-free version, you can skip the nuts altogether or replace them with seeds like sunflower or pumpkin seeds. These alternatives will still provide a satisfying texture without compromising the deliciousness of your ice cream.
Alternative Chocolate Choices
Chocolate is the star of Rocky Road Ice Cream, but you can get creative with your chocolate choices! Instead of regular chocolate chunks, try dark chocolate for a richer taste. White chocolate can also be a fun twist, adding a creamy sweetness that pairs well with the marshmallows. For a unique flavor, consider using flavored chocolate, like mint or orange. Each option will give your ice cream a different character, making it even more exciting!
Adding Other Mix-Ins
Don’t be afraid to experiment with other mix-ins! You can add crushed cookies for a delightful crunch, or swirl in some caramel or fudge for extra sweetness. Dried fruits like cherries or cranberries can add a chewy texture and a burst of flavor. If you’re feeling adventurous, try adding a sprinkle of sea salt to enhance the chocolate flavor. The possibilities are endless, and each mix-in can create a new and exciting version of your Rocky Road Ice Cream!
Cooking Note for Rocky Road Ice Cream
When making Rocky Road Ice Cream, there are a few important cooking notes to keep in mind. First, always use high-quality ingredients. The better the ingredients, the tastier your ice cream will be. Fresh heavy cream and whole milk will provide a rich and creamy base that is essential for a delightful texture.
Next, be mindful of the temperature of your ingredients. It’s best to use cold cream and milk, as this helps the ice cream churn more effectively. If your ingredients are too warm, the ice cream may not set properly, resulting in a less-than-ideal texture.
Additionally, if you’re using an ice cream maker, make sure the bowl is completely frozen before pouring in the mixture. This ensures that the ice cream freezes quickly and evenly. If you’re using the manual method, remember to stir the mixture every 30 minutes while it’s in the freezer. This helps to break up ice crystals, leading to a smoother final product.
Lastly, patience is key! Allow your ice cream to freeze for at least 4 hours after churning. This will give it the perfect scoopable consistency. If you can resist the temptation, waiting overnight will enhance the flavors even more. Enjoy the process, and soon you’ll have a delicious batch of Rocky Road Ice Cream to share with family and friends!
Serving Suggestions for Rocky Road Ice Cream
Creative Ways to Serve
When it comes to serving your homemade Rocky Road Ice Cream, the options are endless! You can keep it simple by scooping it into bowls or cones. However, if you want to impress your guests, consider these creative serving ideas:
- Ice Cream Sundae: Create a delightful sundae by layering Rocky Road Ice Cream with whipped cream, chocolate syrup, and a cherry on top. Add some crushed nuts for extra crunch!
- Ice Cream Sandwiches: Use two cookies, like chocolate chip or graham crackers, to make delicious ice cream sandwiches. Just scoop the Rocky Road Ice Cream between the cookies and freeze for a bit to set.
- Milkshakes: Blend a scoop of Rocky Road Ice Cream with milk for a rich and creamy milkshake. Top it with whipped cream and chocolate shavings for a treat that’s hard to resist!
- Brownie Sundae: Serve your Rocky Road Ice Cream on top of warm brownies. Drizzle with caramel or chocolate sauce for a decadent dessert that combines warm and cold textures.
Pairing with Other Desserts
Rocky Road Ice Cream pairs wonderfully with a variety of desserts. Here are some delicious combinations to try:
- Fruit Pies: The rich chocolate and nutty flavors of Rocky Road Ice Cream complement the sweetness of fruit pies, like cherry or apple. A scoop on the side adds a creamy contrast.
- Chocolate Cake: For chocolate lovers, serving Rocky Road Ice Cream alongside a slice of chocolate cake creates a double chocolate delight. The textures and flavors blend beautifully!
- Cheesecake: The creamy, tangy flavor of cheesecake pairs well with the sweet and crunchy elements of Rocky Road Ice Cream. Try a slice of plain or chocolate cheesecake for a delightful treat.
- Crepes: Fill warm crepes with Rocky Road Ice Cream and drizzle with chocolate sauce. This combination is both elegant and delicious, perfect for a special occasion.
With these serving suggestions, you can elevate your homemade Rocky Road Ice Cream experience. Whether you keep it simple or get creative, your dessert will surely be a hit!
Tips for Making the Perfect Rocky Road Ice Cream
Choosing the Right Ingredients
When it comes to making the perfect Rocky Road Ice Cream, the quality of your ingredients matters a lot. Start with fresh, high-quality heavy cream and whole milk. These will give your ice cream a rich and creamy texture that is simply irresistible. Look for cream that has a high fat content, as this will help create a smooth and luxurious base.
Next, choose granulated sugar that is fine and free of clumps. This ensures it dissolves easily in your mixture, leading to a smoother ice cream. For the chocolate, opt for good-quality chocolate chunks or chips. Dark chocolate can add a rich flavor, while milk chocolate offers a sweeter taste. You can even mix different types of chocolate for a more complex flavor profile.
Don’t forget about the nuts! Fresh walnuts or your choice of nuts should be chopped into bite-sized pieces. This will enhance the crunchiness in every scoop. Lastly, make sure your mini marshmallows are soft and fluffy. Stale marshmallows can ruin the texture of your ice cream. By selecting the best ingredients, you’ll ensure that your Rocky Road Ice Cream is a delightful treat!
Storage Tips for Homemade Ice Cream
Storing your homemade Rocky Road Ice Cream properly is key to maintaining its deliciousness. First, make sure to use an airtight container. This will prevent ice crystals from forming and keep your ice cream fresh. If you have a container with a tight-fitting lid, that’s even better!
Before placing your ice cream in the freezer, smooth the top with a spatula. This helps minimize air exposure, which can lead to freezer burn. If you want to take extra precautions, you can place a piece of plastic wrap directly on the surface of the ice cream before sealing the container. This will provide an additional barrier against air.
Homemade Rocky Road Ice Cream can last in the freezer for about 2-3 weeks. However, for the best flavor and texture, try to enjoy it within the first week. If you notice any changes in texture or flavor, it’s best to discard it. Remember, the fresher the ice cream, the better the experience!
Breakdown of Time for Rocky Road Ice Cream
Prep Time
Preparing your Rocky Road Ice Cream is a breeze! The prep time typically takes about 15 to 20 minutes. This includes gathering your ingredients, mixing the base, and folding in the delicious mix-ins. It’s a quick and enjoyable process that sets the stage for your homemade treat. Just make sure to have everything ready before you start, so you can focus on creating your ice cream without any interruptions!
Cooking Time
When it comes to cooking time, the actual churning of the ice cream takes about 20 to 30 minutes if you’re using an ice cream maker. This is when the magic happens, as the mixture transforms into a creamy delight. If you’re using the manual method, remember to stir the mixture every 30 minutes for about 2 to 3 hours while it freezes. This helps achieve that smooth texture we all love!
Total Time
In total, you should plan for about 4 to 5 hours to make your Rocky Road Ice Cream. This includes the prep time, cooking time, and the final freezing period. After churning, it’s essential to let your ice cream freeze for at least 4 hours to reach that perfect scoopable consistency. If you can wait overnight, the flavors will deepen, making your ice cream even more delicious. So, while the process takes some time, the end result is well worth the wait!
Nutritional Information for Rocky Road Ice Cream
Calories and Macronutrients
Understanding the nutritional content of your homemade Rocky Road Ice Cream can help you enjoy it mindfully. A typical serving size of about 1/2 cup contains approximately:
- Calories: 250-300 calories
- Fat: 15-20 grams
- Saturated Fat: 8-10 grams
- Carbohydrates: 30-35 grams
- Sugar: 20-25 grams
- Protein: 3-5 grams
These values can vary based on the specific ingredients you use. For instance, using low-fat milk instead of whole milk can reduce the calorie and fat content. Similarly, opting for sugar substitutes can lower the sugar levels. Always check the labels of your ingredients to get the most accurate nutritional information.
Health Considerations
While Rocky Road Ice Cream is a delightful treat, it’s important to enjoy it in moderation. The rich ingredients, like heavy cream and sugar, contribute to its deliciousness but can also lead to higher calorie intake. If you’re watching your diet, consider enjoying smaller portions or saving this treat for special occasions.
For those with dietary restrictions, there are ways to make Rocky Road Ice Cream healthier. You can use alternatives like almond milk or coconut cream for a dairy-free version. Additionally, using natural sweeteners like honey or maple syrup can provide a healthier option. Remember, balance is key! Enjoying a scoop of homemade Rocky Road Ice Cream can be part of a healthy lifestyle when consumed mindfully.
FAQs about Rocky Road Ice Cream
Can I make Rocky Road Ice Cream without an ice cream maker?
Absolutely! You can make Rocky Road Ice Cream without an ice cream maker. Simply follow the same steps to prepare your ice cream base. After mixing in your ingredients, pour the mixture into a shallow dish. Place it in the freezer and stir it every 30 minutes for about 2 to 3 hours. This manual method helps break up ice crystals, resulting in a creamy texture. It may take a bit longer, but the delicious outcome is worth the effort!
How long does homemade Rocky Road Ice Cream last?
Homemade Rocky Road Ice Cream can last in the freezer for about 2 to 3 weeks. However, for the best flavor and texture, it’s best to enjoy it within the first week. Make sure to store it in an airtight container to prevent freezer burn. If you notice any changes in texture or flavor, it’s a good idea to discard it. Fresh ice cream is always the tastiest!
What can I substitute for walnuts in Rocky Road Ice Cream?
If you want to substitute walnuts in your Rocky Road Ice Cream, there are plenty of options! You can use pecans for a sweeter flavor or almonds for a delightful crunch. If you prefer a nut-free version, consider using seeds like sunflower or pumpkin seeds. These alternatives will still provide a satisfying texture without compromising the deliciousness of your ice cream.
Is Rocky Road Ice Cream gluten-free?
Yes, Rocky Road Ice Cream is generally gluten-free! The main ingredients, such as heavy cream, milk, sugar, and chocolate, do not contain gluten. However, it’s essential to check the labels of any mix-ins, like chocolate chunks or nuts, to ensure they are gluten-free. If you’re making your own ice cream, you can control the ingredients and keep it gluten-free. Enjoy your sweet treat worry-free!
Conclusion: Enjoying Your Homemade Rocky Road Ice Cream
Making your own Rocky Road Ice Cream is not just about satisfying your sweet tooth; it’s an experience filled with joy and creativity. From gathering the ingredients to mixing in your favorite treats, each step brings you closer to a delicious reward. Once you take that first scoop, you’ll understand why this classic dessert is loved by so many.
Whether you’re enjoying it on a sunny day or sharing it with friends during a cozy gathering, homemade Rocky Road Ice Cream is sure to bring smiles all around. The combination of creamy ice cream, chewy marshmallows, crunchy nuts, and rich chocolate creates a delightful treat that’s hard to resist. Plus, the best part is that you can customize it to suit your taste!
So, gather your loved ones, roll up your sleeves, and dive into the fun of making this delightful dessert. Don’t forget to experiment with different mix-ins and variations to make it uniquely yours. With each batch, you’ll discover new flavors and textures that will keep you coming back for more.
In the end, enjoying your homemade Rocky Road Ice Cream is about creating memories and indulging in a treat made with love. So, scoop it up, savor every bite, and share the joy of this classic dessert with everyone around you. Happy ice cream making!
Relevant Recipes Link:
Looking to elevate your dessert game? Indulge in these delectable ice cream recipes:
- Mexican Fried Ice Cream: A Must-Try Dessert
- Creamy Baileys Ice Cream: A Decadent Treat
- Raspberry Rose Ice Cream Recipe: Perfect for Summer
For more delightful recipes and culinary inspiration, follow us on Pinterest!