Introduction to Classic Vanilla Ice Cream
The Allure of Homemade Ice Cream
There’s something magical about homemade ice cream. The process is simple, yet it brings joy to both the maker and the eater. When you whip up a batch of classic vanilla ice cream, you create a treat that’s not just delicious but also filled with love. The creamy texture and rich flavor remind us of childhood summers spent enjoying sweet delights. Plus, making ice cream at home allows you to control the ingredients, ensuring a fresh and wholesome dessert.
Why Choose Classic Vanilla Ice Cream?
Classic vanilla ice cream is a timeless favorite. Its smooth, creamy base serves as the perfect canvas for various toppings and mix-ins. Whether you enjoy it on its own or paired with a slice of pie, vanilla ice cream never disappoints. It’s versatile, too! You can easily customize it with chocolate chips, fresh fruits, or even a swirl of caramel. This adaptability makes it a go-to dessert for any occasion. Plus, who can resist the comforting taste of vanilla? It’s a flavor that brings back fond memories and creates new ones with every scoop.
Ingredients for Classic Vanilla Ice Cream
To create your own batch of classic vanilla ice cream, you’ll need just a handful of simple ingredients. These pantry staples come together to form a rich and creamy base that will delight your taste buds. Here’s what you’ll need:
- 2 cups heavy cream: This is the key ingredient that gives your ice cream its luscious texture.
- 1 cup sweetened condensed milk: This adds sweetness and creaminess, making your ice cream extra rich.
- 1 tablespoon pure vanilla extract: For that classic vanilla flavor, use high-quality extract for the best results.
- 1/2 cup whole milk: This helps to balance the richness of the cream and condensed milk.
- Pinch of salt: A little salt enhances the flavors and balances the sweetness.
These ingredients are easy to find and often already in your kitchen. With just these few items, you can whip up a delightful dessert that’s sure to impress family and friends. Remember, the quality of your ingredients matters! Using fresh, high-quality products will elevate your ice cream to a whole new level.
Step-by-Step Preparation of Classic Vanilla Ice Cream
Step 1: Gather Your Ingredients
Before you start making your classic vanilla ice cream, it’s important to gather all your ingredients. This will make the process smooth and enjoyable. Make sure you have:
- 2 cups heavy cream
- 1 cup sweetened condensed milk
- 1 tablespoon pure vanilla extract
- 1/2 cup whole milk
- A pinch of salt
Having everything ready will help you focus on creating that creamy goodness without any interruptions. Plus, it’s always fun to see all the ingredients lined up, waiting to be transformed into a delicious treat!
Step 2: Mix the Base
Now that you have your ingredients ready, it’s time to mix the base. In a large mixing bowl, combine the sweetened condensed milk, whole milk, and pure vanilla extract. Stir these together until they are well blended. This mixture will form the sweet foundation of your ice cream. The vanilla extract will infuse a lovely aroma and flavor, making your ice cream irresistible!
Step 3: Whip the Cream
Next, it’s time to whip the cream! In a separate bowl, pour in the heavy cream. Using an electric mixer, whip the cream on medium speed until soft peaks form. This usually takes about 3 to 5 minutes. Be careful not to over-whip, as you want a light and airy texture. The whipped cream will give your ice cream that delightful fluffiness that melts in your mouth.
Step 4: Combine and Fold
Once your cream is whipped, it’s time to combine everything. Gently fold the whipped cream into the milk mixture. Use a spatula to carefully mix them together, ensuring you maintain the airy texture of the whipped cream. This step is crucial, as it helps create that smooth and creamy consistency we all love in ice cream. Take your time and be gentle!
Step 5: Freeze the Mixture
Finally, pour the combined mixture into a freezer-safe container. Spread it out evenly and cover it with a lid or plastic wrap. Place the container in the freezer for at least 6 hours, or until the ice cream is firm. The longer you freeze it, the better the texture will be. Once it’s ready, scoop out a generous portion and enjoy your homemade classic vanilla ice cream!
Variations of Classic Vanilla Ice Cream
Adding Chocolate Chips
If you’re a chocolate lover, adding chocolate chips to your classic vanilla ice cream is a must! Simply fold in about 1 cup of semi-sweet or dark chocolate chips during the combining step. This addition brings a delightful crunch and rich flavor to your creamy base. You can even experiment with different types of chocolate, like milk chocolate or white chocolate, to find your favorite combination. Each scoop will be a delightful surprise!
Fruit Infusions for a Twist
For a refreshing twist, consider adding fresh fruits to your vanilla ice cream. Chopped strawberries, blueberries, or raspberries can brighten up the flavor and add a pop of color. To incorporate fruit, gently fold in about 1 cup of your chosen fruit during the final mixing stage. You can also puree the fruit for a smoother texture. This fruity variation is perfect for summer days and will surely impress your guests!
Swirls of Caramel or Fudge
Another delicious way to elevate your classic vanilla ice cream is by adding swirls of caramel or fudge. After pouring the ice cream mixture into the container, drizzle in your favorite caramel or fudge sauce. Use a knife or a skewer to gently swirl it through the ice cream. This creates beautiful marbled patterns and adds a rich, sweet flavor. You can even top your scoops with extra sauce for an indulgent treat!
Cooking Note for Classic Vanilla Ice Cream
When making classic vanilla ice cream, a few cooking notes can help ensure your dessert turns out perfectly. First, always use fresh ingredients. Fresh heavy cream and pure vanilla extract will significantly enhance the flavor of your ice cream. If possible, opt for organic or high-quality products for the best results.
Next, be mindful of the temperature of your ingredients. For the best texture, it’s ideal to have your heavy cream and whole milk chilled before you start. This helps the cream whip up nicely and keeps the mixture smooth. Additionally, if you live in a warm climate, consider chilling your mixing bowl and beaters in the freezer for a few minutes before whipping the cream. This extra step can make a big difference in achieving that light and airy consistency.
Lastly, patience is key when freezing your ice cream. While it may be tempting to dig in right away, allowing the ice cream to freeze for a full 6 hours or more will yield a firmer and creamier texture. If you find your ice cream is too hard after freezing, let it sit at room temperature for a few minutes before scooping. This will make serving much easier and more enjoyable!
Serving Suggestions for Classic Vanilla Ice Cream
Perfect Pairings with Toppings
When it comes to serving classic vanilla ice cream, the possibilities are endless! Toppings can elevate your dessert and add exciting flavors and textures. Here are some delightful options to consider:
- Chocolate Sauce: Drizzle warm chocolate sauce over your ice cream for a rich and decadent treat. The contrast of warm and cold is simply divine!
- Fresh Fruits: Top your ice cream with sliced bananas, strawberries, or peaches. The natural sweetness of the fruit complements the creamy vanilla perfectly.
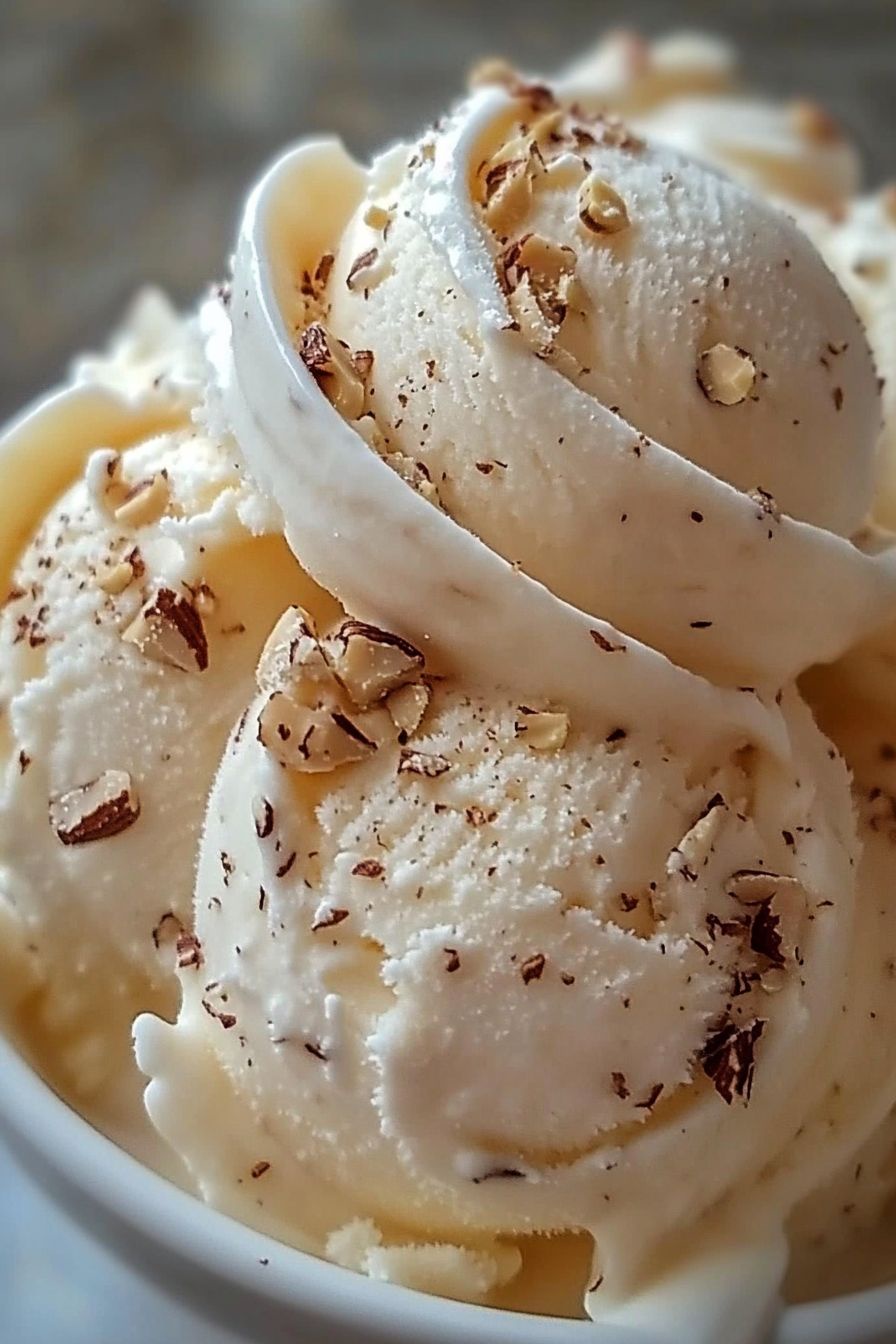
- Nuts: Sprinkle chopped nuts like almonds, walnuts, or pecans for a crunchy texture. They add a delightful contrast to the smooth ice cream.
- Whipped Cream: A dollop of whipped cream on top makes everything feel extra special. It’s a classic addition that never goes out of style!
- Sprinkles: For a fun and festive touch, add colorful sprinkles. They bring joy to every scoop and are especially loved by kids!
Feel free to mix and match these toppings to create your own signature sundae. The beauty of classic vanilla ice cream is that it pairs well with almost anything, making it a versatile dessert for any occasion.
Creative Dessert Ideas
Classic vanilla ice cream can also be the star of many creative dessert ideas. Here are a few fun ways to enjoy your homemade treat:
- Ice Cream Sandwiches: Use your favorite cookies to create delicious ice cream sandwiches. Simply scoop some vanilla ice cream between two cookies and enjoy a delightful bite!
- Milkshakes: Blend a scoop of vanilla ice cream with milk for a creamy milkshake. Add chocolate syrup or fruit for extra flavor. It’s a refreshing drink on a hot day!
- Ice Cream Floats: Pour soda or root beer over a scoop of vanilla ice cream for a classic float. The fizzy drink combined with creamy ice cream is a nostalgic treat.
- Fruit Parfaits: Layer vanilla ice cream with yogurt and fresh fruits in a glass for a beautiful parfait. It’s a great way to enjoy a balanced dessert!
- Pie à la Mode: Serve a scoop of vanilla ice cream on top of warm pie, like apple or cherry. The combination of hot and cold is simply irresistible!
These creative ideas not only enhance the experience of enjoying classic vanilla ice cream but also allow you to impress your family and friends with your dessert-making skills. So, get ready to explore these delicious serving suggestions!
Tips for Making the Best Classic Vanilla Ice Cream
Choosing the Right Ingredients
When it comes to making classic vanilla ice cream, the quality of your ingredients plays a crucial role. Start with fresh, high-quality heavy cream. This will give your ice cream its rich and creamy texture. Look for cream that has a high fat content, ideally around 36% or more. This fat is essential for achieving that luxurious mouthfeel.
Next, opt for pure vanilla extract instead of imitation vanilla. Pure vanilla extract is made from real vanilla beans and offers a deeper, more complex flavor. If you want to take it a step further, consider using vanilla bean paste or even scraping the seeds from a vanilla pod for an extra burst of flavor.
Don’t forget about the sweetened condensed milk! Choose a brand that you trust, as this ingredient adds sweetness and creaminess to your ice cream. Lastly, always use whole milk for the best results. It balances the richness of the cream and helps create a smooth texture. By selecting the right ingredients, you’ll set the foundation for a truly delightful homemade ice cream experience.
Storage Tips for Homemade Ice Cream
Storing your homemade classic vanilla ice cream properly is key to maintaining its deliciousness. After you’ve made your ice cream, transfer it to an airtight container. This will help prevent ice crystals from forming and keep your ice cream creamy. If you have a container with a tight-fitting lid, that’s even better!
To further protect your ice cream, consider placing a piece of parchment paper directly on the surface before sealing the container. This extra layer can help minimize air exposure, which can lead to freezer burn. Store your ice cream in the coldest part of the freezer, usually at the back, to keep it at the right temperature.
Homemade ice cream can last for about 2 to 3 weeks in the freezer. However, for the best flavor and texture, try to enjoy it within the first week. If your ice cream becomes too hard after being in the freezer, let it sit at room temperature for a few minutes before scooping. This will make serving much easier and more enjoyable!
Breakdown of Time for Classic Vanilla Ice Cream
Prep Time
Making classic vanilla ice cream is a delightful process that doesn’t take much time. The prep time for this recipe is approximately 15 minutes. This includes gathering your ingredients, mixing the base, and whipping the cream. It’s a quick and enjoyable task that sets the stage for your delicious homemade treat!
Cooking Time
While there’s no actual cooking involved in this no-churn recipe, the freezing time is essential. You’ll need to freeze the mixture for at least 6 hours. This allows the ice cream to firm up and develop that creamy texture we all love. If you can, let it freeze overnight for the best results. Patience is key here!
Total Time
In total, you’re looking at about 6 hours and 15 minutes from start to finish. This includes the prep time and the necessary freezing time. However, most of that time is just waiting for the ice cream to freeze. So, you can easily go about your day while your delicious classic vanilla ice cream is chilling in the freezer!
Nutritional Information for Classic Vanilla Ice Cream
Calories
When indulging in classic vanilla ice cream, it’s good to know the calorie content. A typical serving size of about 1/2 cup contains approximately 200 to 250 calories. This can vary slightly based on the specific ingredients you use. While it’s a sweet treat, enjoying it in moderation is key to balancing your diet. Remember, the joy of homemade ice cream is not just in the taste but also in the experience!
Protein
Classic vanilla ice cream also provides a modest amount of protein. In a 1/2 cup serving, you can expect to find around 3 to 4 grams of protein. This comes mainly from the milk and cream used in the recipe. While ice cream isn’t a primary source of protein, it can still contribute to your daily intake when enjoyed as part of a balanced diet.
Sodium
In terms of sodium content, classic vanilla ice cream is relatively low. A serving typically contains about 50 to 70 milligrams of sodium. This is a small amount compared to many processed foods. However, if you’re watching your sodium intake, it’s always a good idea to keep track of how much you consume. Enjoying homemade ice cream allows you to control the ingredients, making it a healthier choice overall!
FAQs about Classic Vanilla Ice Cream
Can I make Classic Vanilla Ice Cream without an ice cream maker?
Absolutely! This classic vanilla ice cream recipe is designed to be made without an ice cream maker. The no-churn method allows you to create creamy ice cream using just a few simple steps. By whipping the cream and folding it into the milk mixture, you achieve that delightful texture without any special equipment. Just remember to freeze it for at least 6 hours to get the perfect consistency!
How long does homemade ice cream last in the freezer?
Homemade classic vanilla ice cream can last in the freezer for about 2 to 3 weeks. However, for the best flavor and texture, it’s recommended to enjoy it within the first week. After that, ice crystals may form, affecting the creaminess. To keep your ice cream fresh, store it in an airtight container and minimize air exposure. This way, you can savor your delicious treat for as long as possible!
What can I add to Classic Vanilla Ice Cream for extra flavor?
There are countless ways to enhance the flavor of your classic vanilla ice cream! You can add mix-ins like chocolate chips, nuts, or fresh fruits for a delightful twist. For a richer taste, consider swirling in caramel or fudge sauce. You can also experiment with extracts, such as almond or mint, to create unique flavor profiles. The possibilities are endless, so feel free to get creative and make it your own!
Is it possible to make Classic Vanilla Ice Cream dairy-free?
Yes, you can easily make a dairy-free version of classic vanilla ice cream! Simply substitute the heavy cream and whole milk with coconut cream or almond milk. For sweetness, use a dairy-free condensed milk alternative. Make sure to choose a high-quality vanilla extract to maintain that classic flavor. With these adjustments, you can enjoy a delicious dairy-free treat that everyone can savor!
Conclusion on Classic Vanilla Ice Cream
Recap of the Delightful Experience
In conclusion, making classic vanilla ice cream at home is a delightful experience that brings joy to both the creator and the consumer. With just a few simple ingredients and a bit of patience, you can whip up a creamy, dreamy treat that evokes nostalgia and happiness. The versatility of this recipe allows you to customize it to your liking, whether you prefer it plain or with exciting mix-ins. Each scoop is a reminder of sunny days and sweet moments shared with loved ones. So, whether you’re enjoying it on a hot summer day or as a comforting dessert after dinner, classic vanilla ice cream is sure to satisfy your sweet cravings.
Encouragement to Try the Recipe
Now that you have all the tips and tricks, it’s time to roll up your sleeves and try making your own classic vanilla ice cream! Don’t be afraid to experiment with different flavors and toppings. Remember, the joy of homemade ice cream lies in the creativity and love you put into it. Gather your ingredients, follow the steps, and soon you’ll be savoring a bowl of your very own delicious creation. So go ahead, indulge in the velvety goodness of classic vanilla ice cream, and make some sweet memories along the way!